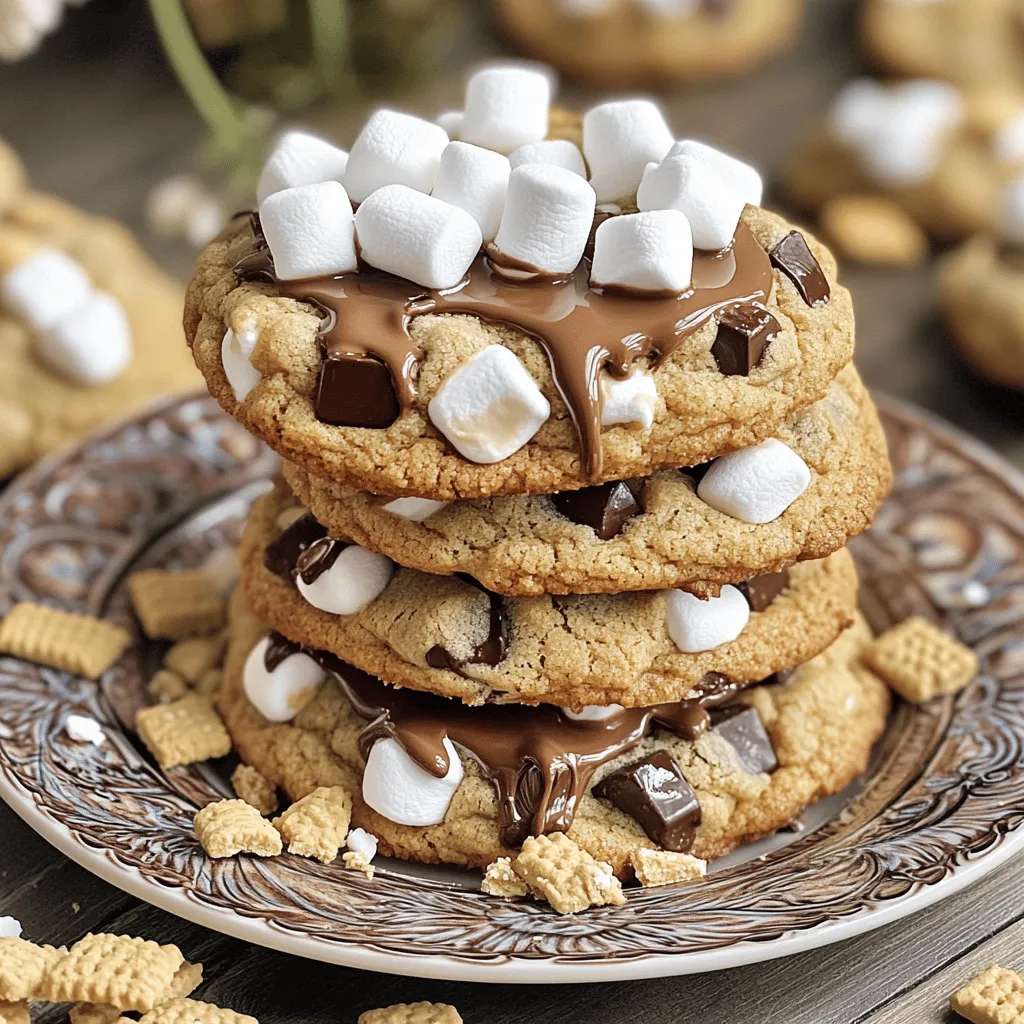
Get ready to indulge in a treat that combines two beloved flavors: S’mores and cookies! My Brown Butter S’mores Cookies recipe will delight your taste buds and bring back fun memories around the campfire. With rich, nutty brown butter, gooey chocolate chips, and fluffy marshmallows, this cookie is hard to resist. Join me as we dive into this simple recipe step by step, perfect for any fun gathering or cozy night in!
Ingredients
List of Ingredients
– 1 cup unsalted butter (for browning)
– 1 cup brown sugar, firmly packed
– 1/2 cup granulated sugar
– 2 large eggs (room temperature)
– 1 teaspoon pure vanilla extract
– 2 1/4 cups all-purpose flour
– 1 teaspoon baking soda
– 1/2 teaspoon fine sea salt
– 1 cup semi-sweet chocolate chips
– 1 cup mini marshmallows
– 1 cup crushed graham crackers
Optional Ingredients
– You can add a pinch of cinnamon for warmth.
– Consider using dark chocolate chips for a richer taste.
– Top with more mini marshmallows for extra fun.
– A drizzle of melted chocolate makes for a pretty touch.
These ingredients come together to create a cookie that is rich, sweet, and oh-so-delicious. The browned butter adds a nutty flavor that elevates the taste. The combination of chocolate, marshmallows, and graham crackers brings the classic s’mores experience right into your kitchen.
Step-by-Step Instructions
Preparation Steps
– Step 1: Brown the Butter
Start by melting 1 cup of unsalted butter in a medium saucepan. Cook it over medium heat. Stir it continuously until it turns a rich golden brown. This process takes about 5-7 minutes. You will notice a nutty aroma as it cooks. Once it’s browned, remove it from the heat and let it cool slightly in a bowl.
– Step 2: Mix Wet Ingredients
In a large mixing bowl, pour in the cooled butter. Add 1 cup of packed brown sugar and 1/2 cup of granulated sugar. Whisk these together until smooth and creamy. Then, add 2 large eggs one at a time. Mix well after each addition. Finally, stir in 1 teaspoon of pure vanilla extract until everything is combined.
– Step 3: Combine Dry Ingredients
In a separate bowl, whisk together 2 1/4 cups of all-purpose flour, 1 teaspoon of baking soda, and 1/2 teaspoon of fine sea salt. Gradually add this dry mix to the wet ingredients. Stir gently until just combined. It’s okay if a few flour streaks remain; do not overmix.
Final Steps
– Step 4: Fold in the Goodies
Use a spatula to carefully fold in 1 cup of semi-sweet chocolate chips, 1 cup of mini marshmallows, and 1 cup of crushed graham crackers. Make sure these goodies are evenly distributed in the dough.
– Step 5: Chill the Dough
Cover your mixing bowl with plastic wrap. Place it in the refrigerator for at least 30 minutes to 1 hour. Chilling helps the cookies achieve that perfect chewy texture.
– Step 6: Preheat the Oven
While the dough chills, preheat your oven to 350°F (175°C). Line two baking sheets with parchment paper to keep the cookies from sticking.
– Step 7: Shape the Cookies
After chilling, scoop the dough using a cookie scoop or a tablespoon. Place the dough balls on the prepared baking sheets, spacing them about 2 inches apart. They will spread while baking.
– Step 8: Bake
Bake the cookies in the preheated oven for 10-12 minutes. The edges should turn lightly golden, while the centers remain soft and chewy.
– Step 9: Cool Down
Once baked, let the cookies cool on the sheets for 5 minutes. This helps them firm up. After that, transfer the cookies to wire racks to cool completely.
Tips & Tricks
Perfecting Your Cookies
To make your Brown Butter S’mores Cookies just right, focus on the texture. Start by browning your butter well. This gives your cookies a rich flavor. Watch it closely until it turns golden brown.
Chill the cookie dough for at least 30 minutes. This step helps the cookies maintain their shape while baking. If you skip this, your cookies may spread too much.
Avoid overmixing your dough. When you combine the dry and wet ingredients, mix gently. A few flour streaks are okay. This keeps your cookies soft and chewy.
Presentation Techniques
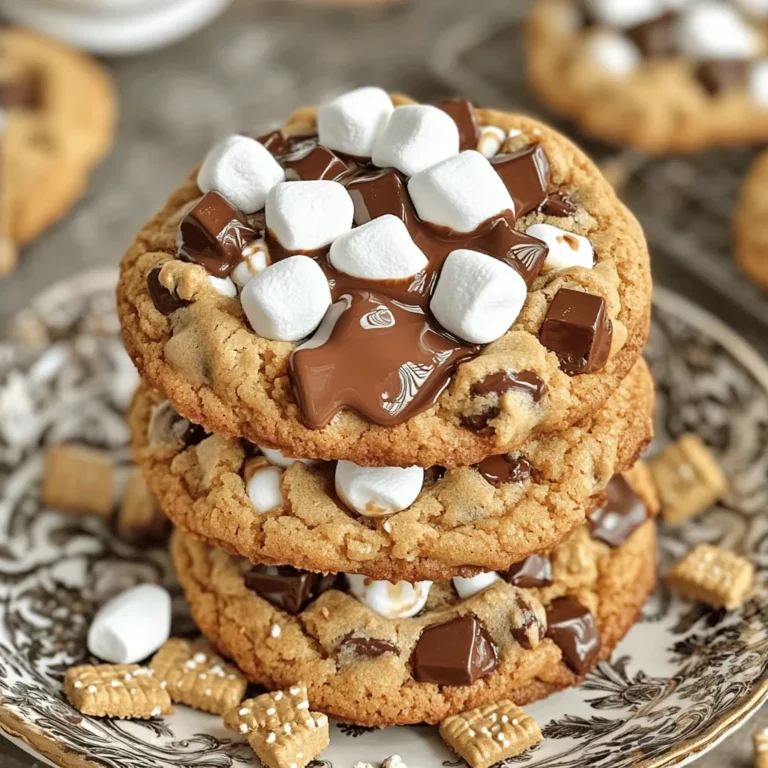
Serving your cookies can be fun! Try stacking them on a pretty plate. Drizzle some melted chocolate on top for a fancy touch.
You can also add extra toppings. A few mini marshmallows on top make a fun look. They add more of that classic s’mores feel. Enjoy creating a treat that looks as good as it tastes!

Variations
Flavor Variations
You can change the flavor of your Brown Butter S’mores Cookies easily. Try using different chocolates. Dark chocolate adds richness, while milk chocolate is sweeter. White chocolate gives a creamy twist. Each type brings its own charm.
You can also add toppings and mix-ins. Peanut butter chips add a nutty flavor. Chopped nuts like pecans or almonds give a nice crunch. You can even use caramel bits for a chewy surprise. Get creative with your choices!
Dietary Modifications
If you need gluten-free options, swap all-purpose flour for a gluten-free blend. Look for blends that work well in cookies. They will help keep the texture soft and chewy.
For vegan substitutions, use plant-based butter instead of regular butter. Replace eggs with flax eggs or applesauce. This keeps the cookies moist and delicious without animal products. You can still enjoy these tasty treats while meeting your dietary needs!
Storage Info
How to Store Cookies
To keep your Brown Butter S’mores Cookies fresh, use an airtight container. A glass jar or plastic tub works well. This helps keep the cookies soft and chewy. Store them at room temperature for up to one week. If you want to keep them longer, you can freeze them.
Freezing Instructions
You can freeze both the dough and finished cookies. For dough, scoop it into balls and flash freeze them on a baking sheet. Once frozen, place them in a freezer bag. This allows you to bake fresh cookies anytime!
For finished cookies, let them cool completely before freezing. Place them in a freezer-safe bag or container. They will stay fresh for about three months. When you’re ready to eat, thaw them in the fridge or at room temperature. Reheat them in the oven for a few minutes for that fresh-baked taste.
FAQs
Common Questions
How do I know when the cookies are done baking?
Look for the edges to turn golden brown. The center should stay soft. Remove them and let them cool on a rack. They will firm up as they cool.
Can I make the dough ahead of time?
Yes! You can prepare the dough and chill it. Just cover it tightly. It will stay fresh for up to three days in the fridge.
What is the best way to prevent cookies from spreading too much?
Chill your dough well before baking. Make sure your butter is not too warm. Finally, don’t skip the baking soda; it helps hold the shape.
Can I use margarine instead of butter?
You can, but butter gives a better flavor. Margarine may change the texture. If you use margarine, choose one that can be used for baking.
How do I customize my S’mores Cookies?
You can swap chocolate chips for dark or white chocolate. Add nuts or different candies for fun flavors. Try adding a sprinkle of sea salt on top for a tasty twist.
Baking Troubleshooting
What to do if cookies are too dry or too soft?
If the cookies are dry, try adding a touch more butter or an egg. For soft cookies, bake them a minute longer. Always check the baking time!
Tips for adjusting sweetness levels
If you want less sweet cookies, reduce the sugar by a couple of tablespoons. You can also use dark chocolate, which is less sweet than milk chocolate. Enjoy finding the right balance for your taste!
In this post, I shared a simple recipe for making delicious S’mores Cookies. I covered all the key ingredients, step-by-step instructions, and helpful tips to get the best results. You can customize these cookies with different flavors and toppings. Remember to store them correctly for freshness, and I answered common questions to guide your baking. With these steps, you’ll feel confident making your own tasty treats. Enjoy the process and happy baking!


