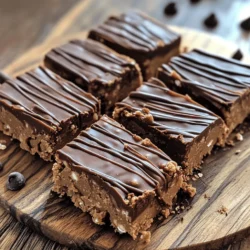
If you’re craving a sweet treat that’s easy to make, you’ve found it! My No-Bake Peanut Butter Bars are simple, quick, and so tasty. With just a few ingredients, you can whip these up in no time. They’re perfect for kids, snacks, or dessert. I’ll guide you step by step to create a delightful treat. Ready to dive into this yummy recipe? Let’s get started!
Ingredients
Complete list of ingredients
To make these no-bake peanut butter bars, you need the following ingredients:
– 1 cup creamy peanut butter
– 1/2 cup honey or maple syrup
– 1 teaspoon pure vanilla extract
– 2 cups rolled oats
– 1/2 cup dark chocolate chips (dairy-free if you prefer)
– 1/4 cup unsweetened cocoa powder
– Pinch of salt
These ingredients work together to create a rich and satisfying treat. The peanut butter gives it a creamy texture, while the oats add chewiness.
Recommended brands for peanut butter and chocolate chips
Choosing the right brands can make a big difference in taste. I recommend:
– Peanut Butter: Look for brands like Jif or Skippy for smoothness. For natural options, try Adams or Smucker’s.
– Chocolate Chips: Ghirardelli dark chocolate chips are a great choice. If you want dairy-free, enjoy Enjoy Life chocolate chips.
These brands provide quality flavors that shine through in your bars.
Nutritional information per serving
For each bar, you can expect the following nutritional values:
– Calories: 180
– Total Fat: 9g
– Saturated Fat: 2g
– Carbohydrates: 23g
– Fiber: 3g
– Sugars: 7g
– Protein: 5g
These bars are a tasty treat that also packs a decent amount of protein and fiber. They make for a great snack or dessert. Enjoy making these simple no-bake peanut butter bars.
Step-by-Step Instructions
Detailed process for preparing the no-bake mixture
To make no-bake peanut butter bars, start by gathering your ingredients. You will need creamy peanut butter, honey or maple syrup, pure vanilla extract, rolled oats, dark chocolate chips, cocoa powder, and a pinch of salt.
1. In a medium saucepan, set over low heat, mix the peanut butter, honey, and vanilla. Stir this mixture until it becomes smooth. Be careful not to let it get too hot.
2. Once it’s smooth, take the pan off the heat. Now, add in the rolled oats, cocoa powder, and a pinch of salt. Stir well until everything is mixed.
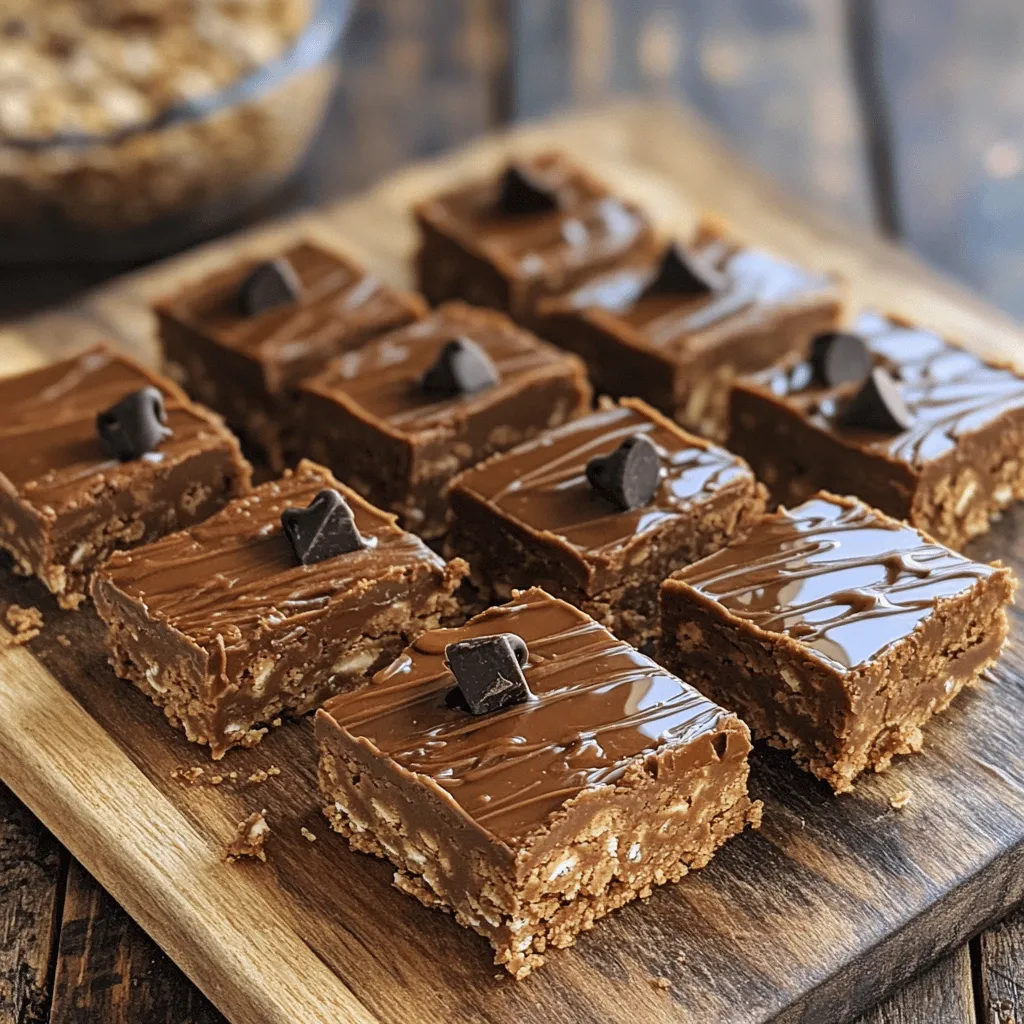
3. Next, fold in the dark chocolate chips gently. This adds a nice touch to each bite.
Tips for achieving the perfect texture
To get the best texture, make sure you pack the mixture tightly in the baking dish. When you press it down, use the back of a spatula or your hands. This step is key. A well-packed mixture holds together better when you cut it.
If your mixture seems too dry, you can add a tiny splash of water. If it is too sticky, mix in a few more oats.
Instructions for cutting and serving the bars
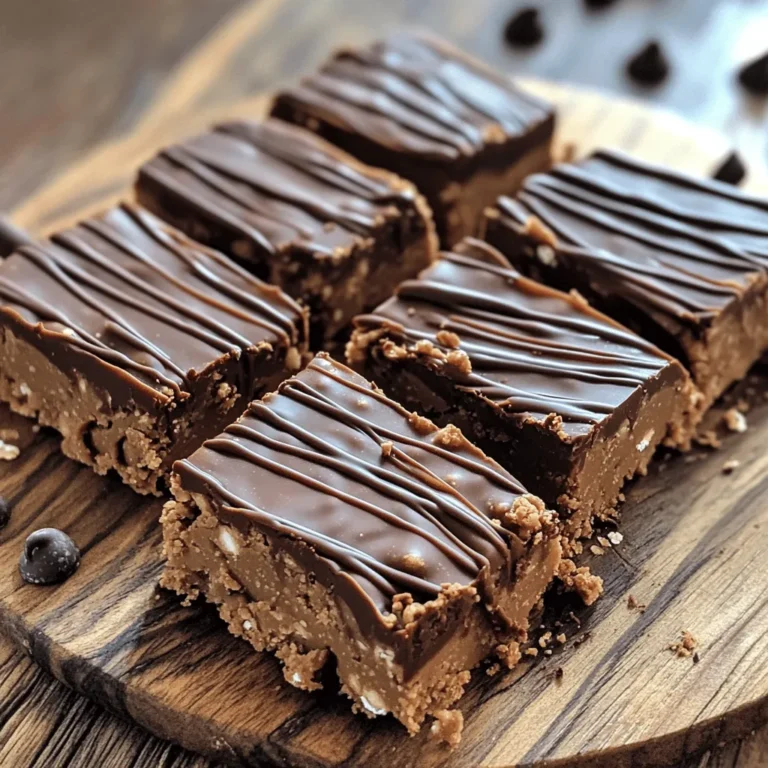
After you chill the mixture for at least 2 hours, it will be firm. Carefully lift it out of the dish using the parchment paper. Now, use a sharp knife to cut the bars into squares or rectangles.
To serve, you can add a sprinkle of cocoa powder or some extra chocolate chips on top. These treats are great for sharing or enjoying yourself! Store any leftovers in an airtight container in the fridge for up to a week.
Tips & Tricks
How to prevent the bars from sticking
To keep your bars from sticking, use parchment paper. Line the bottom and sides of your baking dish. Leave some paper hanging over the edges. This makes it easy to lift the bars out later. Press the mixture down firmly when you spread it in the dish. A tightly packed mix helps the bars hold together.
Common mistakes to avoid
One common mistake is not cooling the mixture enough. If you try to cut the bars too soon, they may fall apart. Always let them chill in the fridge for at least two hours. Another mistake is using the wrong type of peanut butter. Stick to creamy peanut butter for the best texture. Crunchy types can change how the bars feel in your mouth.
Ideal substitutions for various ingredients
You can swap honey for maple syrup if you want a vegan option. If you need gluten-free bars, use certified gluten-free oats. For a nut-free version, try sun butter in place of peanut butter. Want to cut sugar? Use a sugar-free chocolate chip option. These swaps keep the bars tasty while fitting your dietary needs.
Variations
Adding different mix-ins (nuts, seeds, dried fruit)
You can change your no-bake peanut butter bars by adding fun mix-ins. Try nuts like almonds or walnuts for crunch. Sunflower seeds add a nice texture too. Dried fruits, such as raisins or cranberries, bring sweetness and chewiness. Mix these in when you add the chocolate chips. This lets you customize flavors and textures that everyone will enjoy.
Making them gluten-free or vegan
If you need gluten-free bars, use certified gluten-free oats. They taste just as good! For a vegan option, replace honey with maple syrup. This keeps the bars sweet without using animal products. Also, choose dairy-free chocolate chips to keep everything vegan-friendly. These changes let everyone join in and enjoy these tasty treats.
Flavor variations (e.g., adding protein powder or spices)
You can also play with flavors in your bars. For a protein boost, mix in a scoop of protein powder. This is great for active kids and adults. If you want to spice things up, try adding cinnamon or a pinch of sea salt. These tiny tweaks make your bars unique and extra delicious. Get creative, and enjoy discovering your new favorite flavor!
Storage Info
Best practices for storing no-bake peanut butter bars
Storing your no-bake peanut butter bars correctly keeps them fresh and tasty. After you cut the bars, place them in an airtight container. This method protects them from air and moisture. You can also layer parchment paper between the bars. This helps to prevent them from sticking together.
How long they last in the fridge
When stored in the fridge, these bars stay good for about one week. The cool temperature keeps the peanut butter firm. This means you can enjoy a tasty treat every day! Just check for any signs of spoilage before eating. If they look or smell off, it’s best to toss them.
Freezing options and instructions
You can freeze these bars if you want to save some for later. Cut the bars into squares first. Wrap each piece in plastic wrap, then place them in a freezer bag. They can last up to three months in the freezer. When you’re ready to eat one, let it thaw in the fridge for a few hours. This way, you can enjoy a cold and creamy treat anytime!
FAQs
Can I make no-bake peanut butter bars ahead of time?
Yes, you can make no-bake peanut butter bars ahead of time. These bars actually taste better after sitting for a day. This allows the flavors to blend well. Just store them in an airtight container in the fridge. They will stay fresh for about one week. If you want, you can also freeze them for longer storage. Just remember to wrap them well before freezing.
What to do if the mixture is too sticky?
If your mixture becomes too sticky, don’t worry! This can happen if you add too much peanut butter or syrup. To fix this, simply add more rolled oats. Start with 1/4 cup and mix it in. This will help absorb some of the stickiness without changing the taste. Make sure the mixture still holds together when you press it into the dish.
How to make these bars lower in sugar?
To lower the sugar in these bars, you can use less honey or maple syrup. Try cutting the amount in half. You can also use unsweetened applesauce as a replacement. This will give sweetness without adding much sugar. Another option is to use sugar-free chocolate chips. Just check the label to make sure they fit your needs.
You’ve learned how to make delicious no-bake peanut butter bars. We covered the key ingredients, how to prepare them, and tips for the best results. You now know how to store the bars and enjoy different variations. Remember to avoid common mistakes to make your bars perfect each time. These bars are fun to customize and share. Enjoy your tasty treats and impress your friends and family with your new skills!