If you’re looking for a delicious snack that’s crisp, flavorful, and easy to make, this Crispy Everything Bagel Roasted Chickpeas Recipe is for you! With everyday ingredients and simple steps, you’ll transform a can of chickpeas into a crunchy treat that satisfies any craving. Perfect for munching on its own or adding to dishes, let’s dive into how you can whip up this tasty snack in no time!
Ingredients
List of Ingredients
– 1 can (15 oz) chickpeas, thoroughly drained and rinsed
– 2 tablespoons extra virgin olive oil
– 2 tablespoons everything bagel seasoning
– 1 teaspoon garlic powder
– ½ teaspoon onion powder
– Salt and freshly cracked black pepper to taste
Recommended Tools
– Baking sheet
– Parchment paper
– Mixing bowl
– Kitchen towels or paper towels
To make crispy everything bagel roasted chickpeas, gather these ingredients first. The chickpeas serve as the base. Draining and rinsing them is key. This step removes extra salt and improves flavor.
Next, you need the olive oil. It helps the spices stick and enhances crispiness. Everything bagel seasoning brings that classic flavor. Garlic and onion powders add depth. Finally, use salt and pepper to taste.
For tools, start with a baking sheet. Lining it with parchment paper saves cleanup time. A mixing bowl helps combine your ingredients easily. Kitchen towels or paper towels will help dry the chickpeas.
By preparing these items, you set yourself up for success in making this tasty snack.
Step-by-Step Instructions
Preheating and Preparation
– Step 1: Preheat the Oven
First, set your oven to 400°F (200°C). This heat will help the chickpeas get nice and crispy. Line a baking sheet with parchment paper to make cleanup easy and prevent sticking.
– Step 2: Prepare the Chickpeas
Take your can of chickpeas and drain them well. Rinse them under cold water. Spread the rinsed chickpeas on a clean towel. Gently pat them dry. This step is very important. If the chickpeas are wet, they won’t crisp up.
Coating and Flavoring
– Step 3: Coat the Chickpeas
In a large mixing bowl, add the dried chickpeas. Pour in two tablespoons of extra virgin olive oil. Toss the chickpeas gently until they are fully coated in oil. This helps the seasoning stick.
– Step 4: Add Seasoning
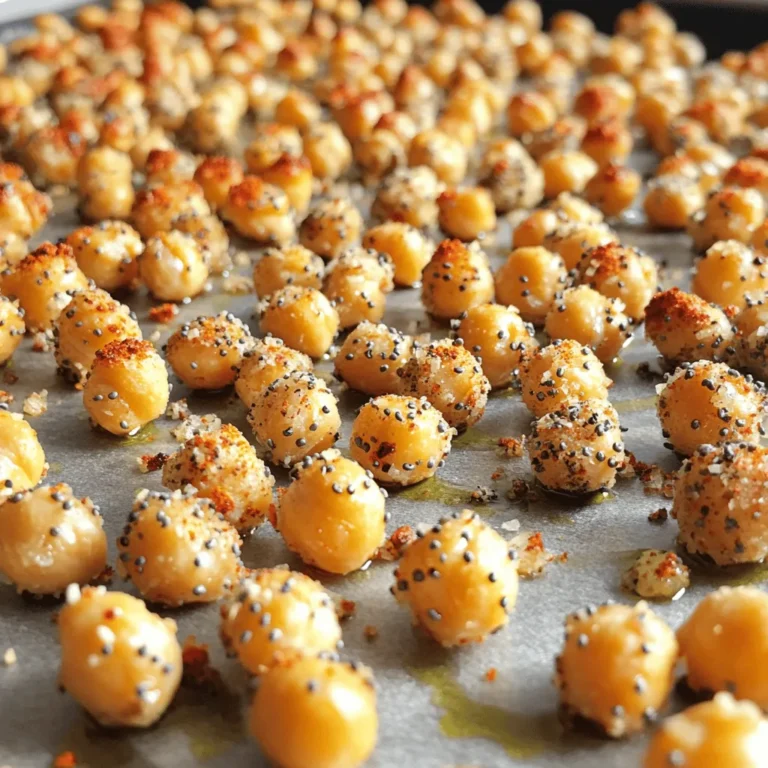
Now, sprinkle the everything bagel seasoning, garlic powder, onion powder, and a pinch of salt and pepper over the chickpeas. Mix well using your hands or a spatula. Make sure each chickpea gets a good amount of seasoning.
Roasting Process
– Step 5: Arrange for Roasting
Transfer the seasoned chickpeas to the lined baking sheet. Spread them out in a single layer. Avoid crowding them; otherwise, they will steam and not roast.
– Step 6: Roast
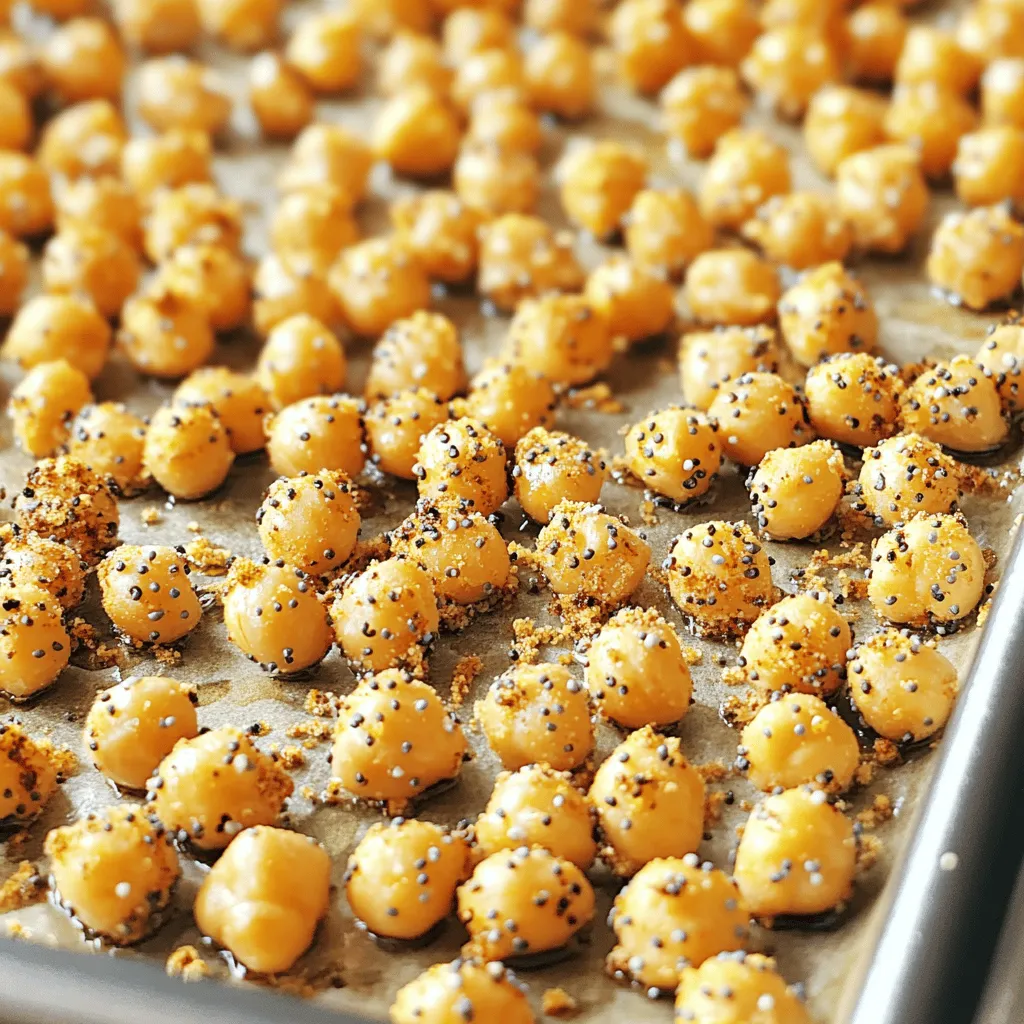
Place the baking sheet in your preheated oven. Roast the chickpeas for about 25-30 minutes. Halfway through, give the pan a gentle shake. This helps them brown evenly.
– Step 7: Cool and Enhance Crispiness
When the chickpeas are golden brown and crispy, take them out of the oven. Let them cool on the baking sheet for a few minutes. They will get crunchier as they cool down.
– Step 8: Serve and Enjoy
Now it’s time to dig in! You can eat these crispy chickpeas as a snack or use them as a topping for salads or soups. They add a great crunch and flavor. Enjoy your delicious creation!
Tips & Tricks
Achieving Maximum Crispiness
To get the best crunch from your chickpeas, you need to dry them well. After rinsing, spread them on a towel. Pat them gently until no water remains. This step is key for crispiness. Next, set your oven to 400°F (200°C). This temperature helps the chickpeas roast perfectly.
Seasoning Recommendations
You can customize your everything bagel blend to suit your taste. Try adding more garlic or onion powder. You can also mix in spices like cayenne or paprika for some heat. This adds a nice kick and makes your chickpeas extra tasty.
Suggested Serving Methods
These crispy chickpeas pair well with salads and soups. Sprinkle them on top for added crunch. You can also enjoy them as a snack on their own. Serve them in a bowl or on a bed of greens for a pretty touch. They make every meal more fun and flavorful!
Variations
Alternative Seasonings
You can spice up your chickpeas in many ways. For a kick, use chili powder or cayenne. These spices add heat and flavor. If you love herbs, try oregano or thyme. These herbs bring a fresh taste. Feel free to mix and match. Find a blend that you love!
Dietary Adjustments
If you are gluten-free, check your seasoning. Most everything bagel seasonings are safe. Just read the label. For vegan diets, this recipe is already vegan. The chickpeas and seasonings are plant-based. Enjoy these snacks without worry!
Ingredient Swaps
Want to try something new? Swap chickpeas for other legumes like black beans or lentils. They will roast well too. You can also change the oil. Use avocado oil or coconut oil instead of olive oil. Each oil brings its own flavor. Experiment to find what you like best!
Storage Info
Best Practices for Storing
Store your crispy chickpeas in an airtight container. This keeps them fresh for longer. I recommend using a glass jar or a plastic container with a tight lid. Proper storage helps maintain their crunch. The roasted chickpeas last about 3 to 5 days at room temperature. After that, they may lose their crispiness.
Reheating Instructions
To bring back the crunch, reheat your chickpeas in the oven. Preheat your oven to 350°F (175°C). Spread the chickpeas on a baking sheet and heat for about 10 minutes. This method ensures they regain their texture. You can also use a microwave, but this may make them softer. If you choose the microwave, heat them for just a minute or two.
Freezing Options
Yes, you can freeze roasted chickpeas! Place them in a freezer-safe bag. Make sure to remove as much air as possible before sealing. They can last up to 3 months in the freezer. To thaw, take the bag out and let it sit at room temperature for a few hours. For best results, reheat them in the oven after thawing. This keeps them crispy and tasty.
FAQs
How long do roasted chickpeas last?
Roasted chickpeas can last for about 1 week when stored correctly. Keep them in an airtight container at room temperature. They may lose some crispiness but will still taste great. If you want to keep them fresh longer, consider refrigerating them. This can extend their life to about 2 weeks.
Can I use fresh chickpeas instead of canned?
Yes, you can use fresh chickpeas. However, they must be cooked first. Fresh chickpeas need to be soaked overnight and boiled until tender. This process takes more time than using canned chickpeas, which are ready to go.
What type of chickpeas should I use for this recipe?
You should use canned chickpeas for this recipe. They are pre-cooked, making the process quick and easy. Look for chickpeas that are low in sodium for a healthier option. If you prefer, you can use dried chickpeas after cooking them.
Are crispy roasted chickpeas healthy?
Yes, crispy roasted chickpeas are a healthy snack. They are high in protein and fiber, which helps keep you full. The healthy fats from olive oil add flavor without too many calories. Plus, they are a great alternative to chips or other snacks.
Can I make these in an air fryer?
Yes, you can use an air fryer! Set it to 400°F (200°C) and cook for about 15-20 minutes. Shake the basket halfway through to ensure even cooking. The air fryer gives a great crispy texture and is faster than the oven.
What can I substitute for everything bagel seasoning?
You can make your own blend if you don’t have everything bagel seasoning. Combine equal parts sesame seeds, poppy seeds, garlic powder, and onion powder. Add a pinch of salt for flavor. You can also try other spices like smoked paprika or chili powder for a different kick.
Roasting chickpeas is easy and fun. You start with simple ingredients and tools. Preheat the oven and prepare your chickpeas. Coat them with olive oil and seasonings. Roast until crispy and enjoy them as a snack or topping.
Remember, crispiness relies on drying the chickpeas well. You can customize the flavors to suit your taste. Try different seasonings or beans for variety. Whether serving them fresh or storing them, roasted chickpeas are a healthy choice. Explore these tips and enjoy your crunchy creations!

