Are you ready to dip into something delicious? This Cheesy Spinach Artichoke Dip is not only flavorful but also simple to make. I’ll guide you through every step, from gathering fresh ingredients to baking the perfect dip. Whether you want to impress at a party or enjoy a cozy night in, this recipe has you covered. Let’s dive into creamy goodness together!
Why I Love This Recipe
- Delicious Flavor Combination: The blend of creamy cheeses, savory artichokes, and fresh spinach creates a mouthwatering dip that’s perfect for any occasion.
- Easy to Prepare: This dip comes together in just a few simple steps, making it an ideal choice for quick gatherings or last-minute parties.
- Versatile Serving Options: Pair it with a variety of dippers like pita chips, veggies, or toasted bread to cater to all tastes and preferences.
- Crowd-Pleaser: Whether at a game day party or a family gathering, this cheesy spinach artichoke delight is sure to impress and satisfy your guests.
Ingredients
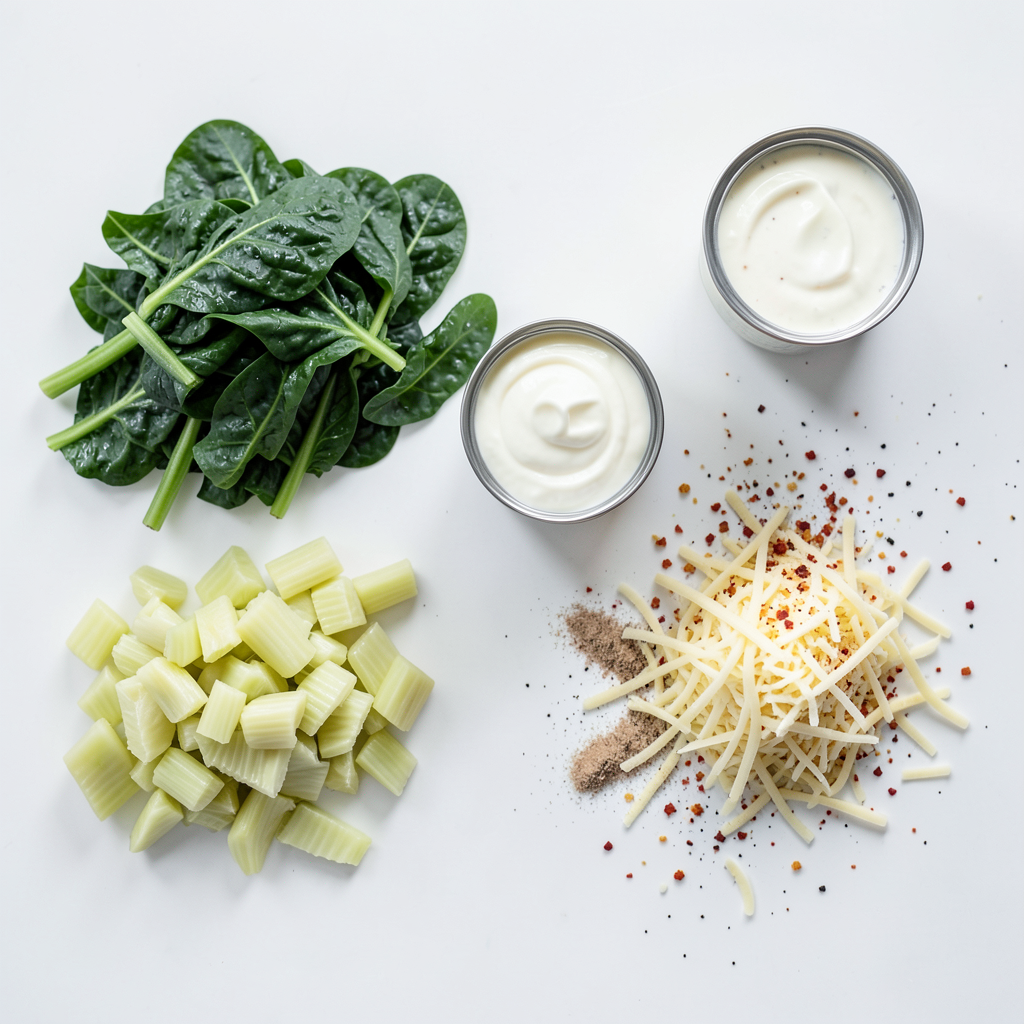
Complete list of ingredients
Here is what you need for Cheesy Spinach Artichoke Dip:
- 1 cup frozen spinach, thawed and squeezed
- 1 cup canned artichoke hearts, drained and chopped
- 1 cup cream cheese, softened
- 1/2 cup sour cream
- 1 cup mayonnaise
- 1 cup grated Parmesan cheese
- 1 cup shredded mozzarella cheese
- 2 cloves garlic, minced
- 1 teaspoon onion powder
- 1/2 teaspoon red pepper flakes (optional)
- Salt and black pepper, to taste
Ingredient substitutions
If you want to change things up, here are a few swaps:
- Use fresh spinach instead of frozen. Just cook and chop it first.
- Greek yogurt can replace sour cream for a tangy flavor.
- You can use Neufchâtel cheese for a lighter option instead of cream cheese.
- For a dairy-free version, try vegan cream cheese and plant-based yogurt.
- If you do not have artichokes, try chopped green olives for a twist.
Fresh vs. frozen ingredients
Using fresh ingredients can boost the flavor. Fresh spinach tastes brighter and has more texture. However, frozen spinach is quick and easy. It’s already prepared and saves time.
Artichoke hearts in a can are convenient and still tasty. Fresh artichokes are great but take longer to prep. I often choose canned for ease, especially when I'm in a hurry.
In the end, both fresh and frozen ingredients can work in this dip. It comes down to your taste and what you have on hand.
Step-by-Step Instructions
Preheating the oven
Start by preheating your oven to 350°F (175°C). This helps your dip cook evenly. Set a timer so you don't forget. A hot oven is key to getting that perfect bubbly texture.
Preparing the creamy base
Grab a large mixing bowl. Add 1 cup of softened cream cheese, 1/2 cup of sour cream, and 1 cup of mayonnaise. Mix these together using a whisk or an electric mixer. Blend until smooth and creamy, with no lumps. This creamy base is what makes the dip rich and tasty.
Combining ingredients and baking
Now, it’s time to add flavor! Gently fold in 1 cup of thawed spinach and 1 cup of finely chopped artichoke hearts. Next, add 2 minced garlic cloves, 1 cup of grated Parmesan cheese, and 1 cup of shredded mozzarella cheese. Sprinkle in 1 teaspoon of onion powder and, if you like heat, add 1/2 teaspoon of red pepper flakes. Mix everything together until well combined.
Taste the mixture. Add salt and freshly ground black pepper to your liking. Then, use a spatula to spread the cheesy mixture into a baking dish. Bake it in your preheated oven for 25-30 minutes. Look for that bubbly and light golden top. Once done, let it cool for about 5 minutes before serving. Enjoy your delicious Cheesy Spinach Artichoke Dip!
Tips & Tricks
How to prevent a watery dip
To stop your dip from being watery, use frozen spinach. Make sure to thaw it and squeeze out all the water. This step is key! If you use fresh spinach, cook it down first. It helps to lose the extra moisture. Also, drain the artichoke hearts well. This keeps your dip thick and creamy.
Ensuring a smooth texture
For a smooth texture, blend the cream cheese, sour cream, and mayonnaise well. Use a whisk or an electric mixer to mix them together. Make sure there are no lumps. After that, gently fold in the other ingredients. Stir just enough to combine everything. Overmixing can make your dip tough, so be gentle.
Achieving the perfect golden top
To get a beautiful golden top, make sure to use both Parmesan and mozzarella cheeses. They melt well and create a nice crust. Bake the dip until it is hot and bubbly. Keep an eye on it while baking. If it starts to brown too quickly, cover it with foil. This will help it cook evenly without burning.
Pro Tips
- Enhance Flavor: Add a splash of lemon juice or zest to brighten the flavors of the dip.
- Cheese Variations: Experiment with different cheese combinations, like adding goat cheese or cheddar for a twist.
- Make Ahead: Prepare the dip a day in advance, cover, and refrigerate. Bake before serving for a quick appetizer.
- Perfect Dippers: Pair with a variety of dippers like breadsticks, crackers, or sliced baguette for an appealing platter.
Variations
Adding proteins (chicken, bacon)
You can add proteins to your cheesy dip. Chicken or bacon makes it heartier. For chicken, use cooked, shredded chicken. Stir it right in with the other ingredients. For bacon, cook strips until crispy. Crumble the bacon and mix it in. Both options add great flavor and texture.
Vegan version using plant-based substitutes
You can easily make a vegan version of this dip. Swap cream cheese for a plant-based cream cheese. Use vegan sour cream and mayonnaise too. For cheese, try vegan cheddar or mozzarella. These swaps keep the creamy texture while catering to a plant-based diet. You still get the rich taste everyone loves.
Spicy version with jalapeños
For a spicy kick, add jalapeños to your dip. Chop fresh or pickled jalapeños finely. Mix them into the creamy base before baking. Adjust the amount based on your spice level. This addition gives a nice heat that pairs well with the creamy flavors. It’s a fun twist for those who love spice!
Storage Info
How to store leftovers
To store leftovers of your cheesy spinach artichoke dip, let it cool first. Use an airtight container to keep it fresh. You can place the dip in the fridge for up to three days. Make sure to press plastic wrap directly on the dip surface to avoid drying out.
Reheating tips
When you are ready to enjoy your leftover dip, preheat your oven to 350°F (175°C). Transfer the dip to an oven-safe dish. Cover it with foil to keep it moist while it warms. Bake for about 15-20 minutes, or until it’s hot and bubbly again. Stir halfway through for even heating.
Freezing options
If you want to freeze your cheesy spinach artichoke dip, place it in a freezer-safe container. It will stay good for up to two months. When you’re ready to use it, let it thaw in the fridge overnight. Reheat as described above. Freezing may change the texture slightly, but it will still taste great!
FAQs
Can I make Cheesy Spinach Artichoke Dip ahead of time?
Yes, you can prepare this dip in advance. Mix all the ingredients and place them in a baking dish. Cover it tightly with plastic wrap and store it in the fridge. You can bake it later when you're ready to serve. This makes it easy for parties or gatherings.
What to serve with Cheesy Spinach Artichoke Dip?
I love serving this dip with a variety of dippers. Here are some great options:
- Crispy pita chips
- Crunchy tortilla chips
- Fresh vegetable sticks, like carrots and celery
Serving a colorful mix makes it fun and pleasing to the eye.
How long will leftovers last in the fridge?
Leftovers can last for about 3 to 4 days in the fridge. Store the dip in an airtight container to keep it fresh. I recommend reheating it in the oven for the best taste. It warms up nicely and stays creamy!
This blog post covered the key steps for a delicious Cheesy Spinach Artichoke Dip. I shared the ingredients, their substitutes, and tips for the best texture. We explored exciting variations, like a vegan option and spicy twists. Remember to store leftovers properly for later enjoyment.
Now, you have all you need to create this dip. Enjoy the process and delight in the tasty results!