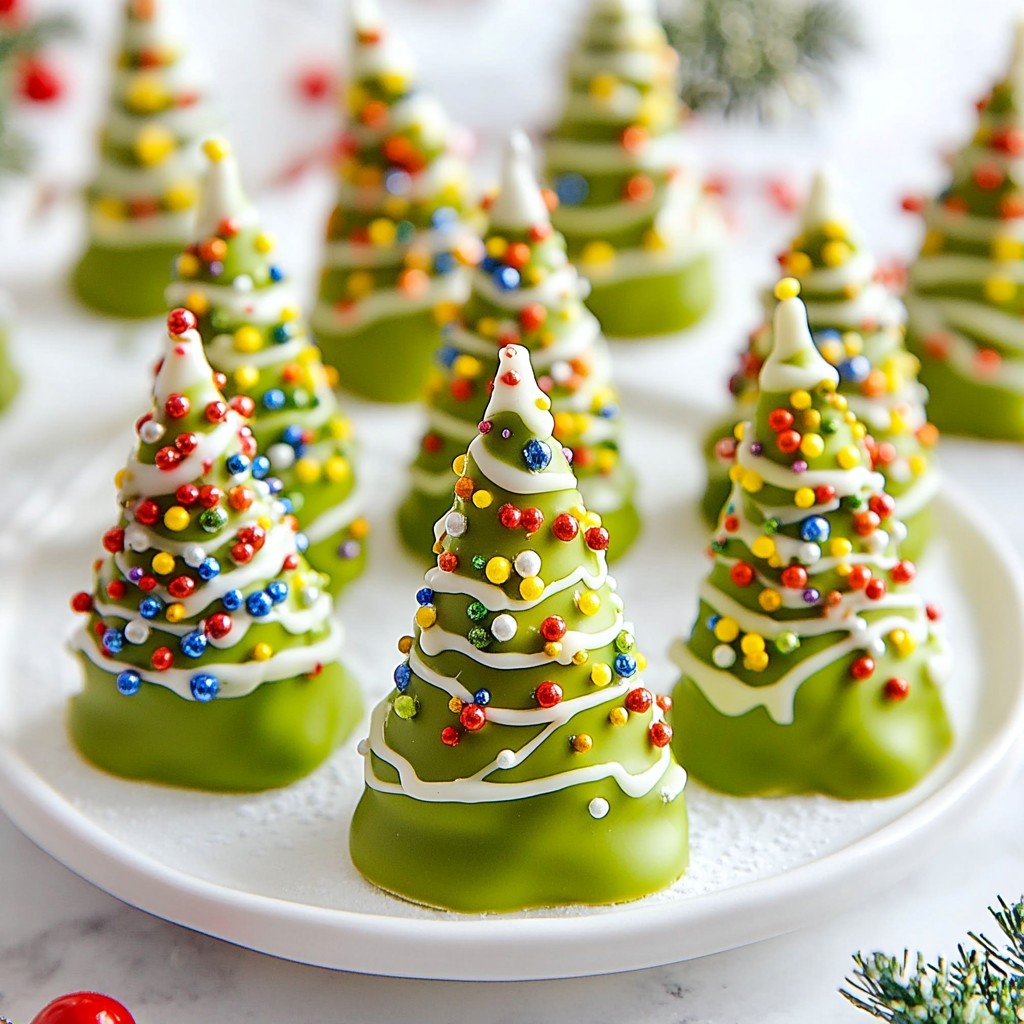
Get ready to impress your holiday guests with delightful Christmas Tree Cake Pops! These festive treats combine fun and flavor in a charming shape that everyone will love. In this post, I'll walk you through the easy steps to create these adorable cake pops, from gathering your ingredients to clever decorating tips. Let’s dive into the world of sweet holiday cheer and whip up a batch that will shine at your next celebration!
Why I Love This Recipe
- Festive Appearance: These Christmas tree cake pops are not only delicious but also visually stunning, making them a perfect holiday treat.
- Fun to Make: The process of shaping the cake into trees is a fun activity, especially for kids or family gatherings.
- Customizable Flavors: You can easily switch up the flavors of the cake and frosting, allowing for endless variations to suit your taste.
- Great for Gifting: These cake pops make for cute gifts or party favors, beautifully packaged and shared with friends and family.
Ingredients
Main Ingredients
- 1 box of vanilla cake mix
- 1 cup of frosting (vanilla or cream cheese)
- 1 teaspoon peppermint extract
- Green food coloring (as desired)
Coating and Decoration
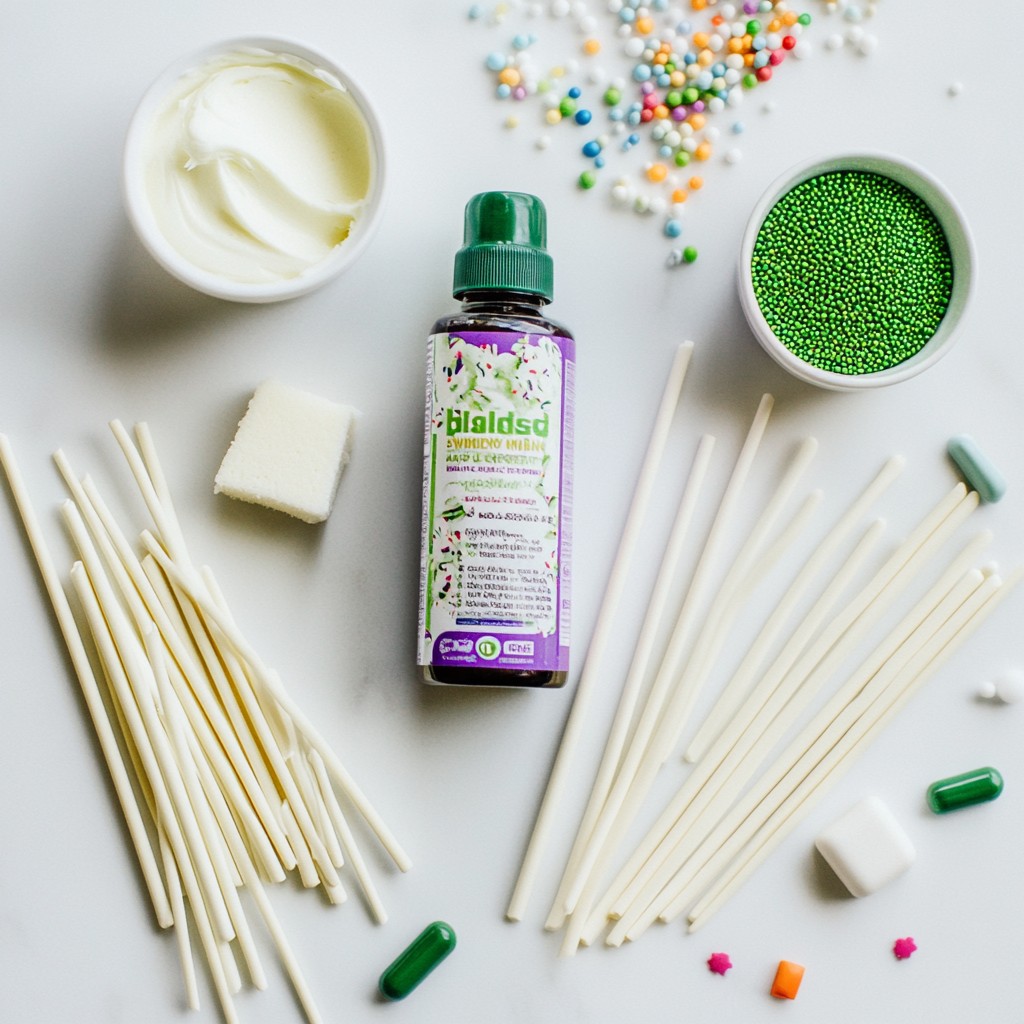
- 1 cup of green chocolate candy melts
- 1 cup of white chocolate candy melts
- Assorted holiday-themed sprinkles
Tools Required
- Lollipop sticks
- Styrofoam block or cake pop stand
Creating Christmas Tree Cake Pops is all about using the right ingredients. First, we need a box of vanilla cake mix. This cake mix provides a sweet base. You will also need frosting. I suggest vanilla or cream cheese. They blend well with the cake. Adding peppermint extract gives a fresh flavor. You can mix in green food coloring to make the cake pops look festive.
For the coating, green chocolate candy melts are key. These melts give the cake pops their tree-like look. You can also use white chocolate candy melts for decoration. They add a snowy touch to your treats. Don't forget the holiday-themed sprinkles! They will make your cake pops fun and colorful.
You will need some tools to make these cake pops. Lollipop sticks are essential to hold the pops. A Styrofoam block or cake pop stand helps display your creations. This setup keeps your cake pops upright while they set.
With these ingredients and tools, you are ready to create festive and fun Christmas Tree Cake Pops!
Step-by-Step Instructions
Baking the Cake
- Preheat your oven to 350°F (175°C).
- Prepare the vanilla cake mix according to the box instructions.
- Pour the batter into a 9x13-inch pan.
- Bake until golden brown. Check with a toothpick to see if it’s done.
- Allow the cake to cool completely on a wire rack.
Preparing the Cake Mixture
- Once the cake is cool, crumble it into fine pieces in a large bowl.
- Make sure there are no large chunks left. They won’t stick.
- Add in the cup of frosting and the peppermint extract.
- Mix with your hands or a spatula until it feels like playdough.
Shaping the Cake Pops
- Take small bits of the mixture and form them into cone shapes.
- Each shape should look like a small Christmas tree.
- Place the shaped trees on a lined baking sheet for easy removal.
- Insert a lollipop stick into the base of each tree.
- Chill the pops in the fridge for at least 30 minutes.
Coating and Decorating
- In a microwave-safe bowl, melt the green chocolate candy melts.
- Heat in short bursts, stirring until smooth and lump-free.
- Dip each tree pop in the melted chocolate, covering it fully.
- Let excess chocolate drip off before placing it back on the sheet.
- While the chocolate is still wet, sprinkle colorful decorations over each tree.
- Drizzle melted white chocolate on some trees for a snowy look.
Setting the Cake Pops
- Insert the decorated cake pops into a Styrofoam block or cake pop stand.
- Allow them to set for about 15-20 minutes until the chocolate hardens.
- For a festive display, arrange the pops in a decorated foam base.
- Add a colorful ribbon around the base for an extra cheerful touch.
Tips & Tricks
Perfecting the Cake Pop Mixture
To shape perfect cake pops, you need the right consistency. Aim for a mixture that holds together like playdough. If it’s too dry, add more frosting. If it’s too wet, add more cake crumbles. You can use cream cheese frosting instead of vanilla for a tangy twist. It pairs well with the peppermint extract.
Decorating Ideas
Sprinkles add magic to your cake pops. Try a mix of red, green, and gold for a festive look. You can also use edible glitter for extra shine. Consider drizzling white chocolate over some pops for a snowy effect. This adds depth and elegance to your trees.
Presentation Tips
For events, arrange your cake pops in a bright container. You can use a Styrofoam block to hold them upright. Wrap the base with a colorful ribbon for added charm. If you gift these treats, consider using clear bags tied with bows. It makes your cake pops look even more inviting.
Pro Tips
- Chill for Better Coating: Make sure to chill the cake pops before coating them with chocolate. This will help the chocolate adhere better and create a smoother finish.
- Use Quality Chocolate: Opt for high-quality chocolate candy melts for a better taste and a more appealing shine. This can elevate the overall look and flavor of your cake pops.
- Experiment with Colors: Don’t hesitate to mix in different shades of green or add some edible glitter for a magical effect. It adds a unique touch to your Christmas tree design!
- Storage Tips: Store your cake pops in an airtight container at room temperature for up to a week. If you need to store them longer, consider refrigerating them to keep them fresh.
Variations
Flavor Variations
You can switch up your Christmas Tree Cake Pops with different flavors. For a rich twist, try using chocolate cake mix instead of vanilla. This gives a deep, chocolatey base that pairs well with peppermint. You can also experiment with flavored frostings. Consider using cream cheese frosting for a tangy note. You can even add a splash of vanilla or almond extract for extra flavor.
Design Variations
Get creative with the design of your cake pops! You can shape them into stars, snowmen, or even Santa hats for a fun holiday theme. Change up the coating colors too. Use red or white chocolate melts to give your cake pops a different look. Mixing colors can make your display pop!
Dietary Considerations
If you have dietary needs, there are great options. For a gluten-free treat, use a gluten-free cake mix instead of regular. Many brands offer delicious choices that taste just as good. If you need vegan options, replace the frosting with a plant-based version. You can also use dairy-free chocolate melts. These swaps keep the festive spirit alive for everyone!
Storage Info
Storing Cake Pops
You can store cake pops at room temperature or in the fridge. If you plan to eat them within two days, room temperature works fine. Just place them in a cool, dry spot. For longer storage, refrigerate them. Use an airtight container to keep them fresh. Avoid stacking them, as this can cause them to stick together.
Freezing Cake Pops
Freezing cake pops is a great way to save some for later. To freeze them properly, first chill the cake pops in the fridge until firm. Then, wrap each one in plastic wrap. Place the wrapped pops in a zip-top bag. This helps prevent freezer burn. When you want to serve them, take them out and let them thaw in the fridge for a few hours.
Shelf Life
Cake pops stay fresh for about a week at room temperature. In the fridge, they last up to two weeks. If you freeze them, they can last for about a month. Check for signs of spoilage before eating. If you see any mold or if they smell off, it’s best to toss them. Enjoy your festive treats while they are fresh!
FAQs
How to make cake pops without a stand?
You can use a Styrofoam block to support your cake pops. Simply insert the sticks into the block. This keeps your cake pops upright as they set. You can also use a box with holes cut out. Just make sure the holes fit snugly around the sticks. This works well for kids' parties or holiday events.
Can I make these cake pops ahead of time?
Yes, you can make these cake pops ahead of time. To do this, prepare the cake mixture and shape the trees. Chill them and then dip them in chocolate. Once set, you can wrap them in plastic wrap. Store them in the fridge for up to a week. This makes party prep much easier and less stressful.
What can I use instead of peppermint extract?
If you want a different flavor, you can use vanilla or almond extract. Both will add a nice taste to the cake pops. For a fruity twist, try using orange or lemon extract. Each option gives your cake pops a unique flavor while keeping that festive spirit.
Should I use parchment paper or wax paper?
Parchment paper is the best choice for cake pops. It is non-stick and heat-resistant, making it great for cooling chocolate. Wax paper can stick to the chocolate, ruining your pops. Always use parchment paper to ensure easy removal and a clean finish.
You can create delightful cake pops using simple ingredients and steps. Start with a cake mix, select your favorite frosting, and get creative with flavors and colors. Decorate your pops with colorful coatings and sprinkles for a fun look. Remember to use tools like lollipop sticks for shaping and displaying.
In the end, cake pops are a versatile treat. You can personalize them for any occasion. Enjoy baking and let your creativity shine through!