Are you ready to bake the perfect gluten-free bread using your bread machine? In this simple and tasty recipe, I’ll guide you through every step, from selecting the right ingredients to troubleshooting common issues. You’ll learn how to mix, monitor, and enjoy a loaf that’s not only easy to make but also packed with flavor. Say goodbye to store-bought bread and hello to your new favorite recipe! Let’s dive in.
Why I Love This Recipe
- Perfect Texture: This gluten-free bread has a delightful, soft texture that rivals traditional bread, making it perfect for sandwiches or toasting.
- Easy to Make: With a bread machine, this recipe simplifies the bread-making process, allowing you to enjoy homemade bread without the hassle.
- Nutritious Ingredients: Incorporating almond and tapioca flours not only adds flavor but also boosts the nutritional value of the bread.
- Versatile Uses: This bread can be enjoyed in various ways, whether fresh out of the machine, toasted with toppings, or alongside your favorite soups.
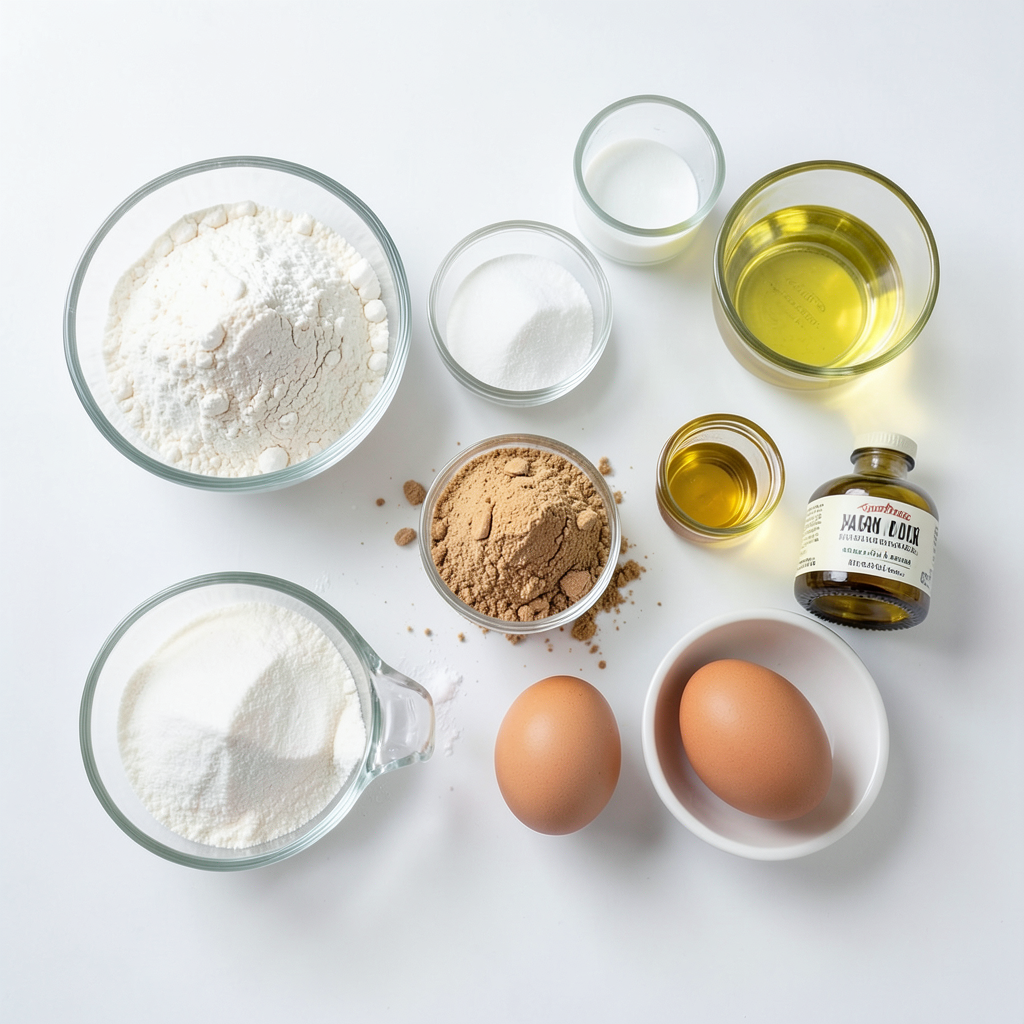
Ingredients
List of ingredients needed
- 2 cups gluten-free all-purpose flour
- 1/2 cup tapioca flour
- 1/4 cup almond flour
- 1/4 cup granulated sugar
- 1 teaspoon sea salt
- 1 tablespoon baking powder
- 1/2 teaspoon xanthan gum
- 1 cup warm water (about 110°F)
- 1/3 cup extra virgin olive oil
- 3 large eggs, at room temperature
- 1 teaspoon apple cider vinegar
Recommended brands for gluten-free flours
I suggest using brands like Bob's Red Mill or King Arthur Flour. They offer high-quality gluten-free flours. These brands are reliable and work well in recipes. You can find them at most grocery stores or online.
Tips for selecting high-quality ingredients
When picking gluten-free flours, look for ones that are finely ground. This helps create a better texture in your bread. Check the packaging for freshness dates. Fresh flours give better results. Also, consider using organic ingredients. They often have richer flavors and better nutrients. Always read labels for allergens, especially if you have sensitivities.
Step-by-Step Instructions
Preparing the bread machine for gluten-free dough
Start by cleaning your bread machine. Set the machine to the gluten-free setting. This setting helps to mix and bake the dough evenly.
Mixing dry ingredients thoroughly
In a large bowl, combine the following dry ingredients:
- 2 cups gluten-free all-purpose flour
- 1/2 cup tapioca flour
- 1/4 cup almond flour
- 1/4 cup granulated sugar
- 1 teaspoon sea salt
- 1 tablespoon baking powder
- 1/2 teaspoon xanthan gum
Use a whisk or spoon to mix them well. This step adds air and ensures that the ingredients blend evenly.
Incorporating wet ingredients for best results
In another bowl, whisk together the wet ingredients:
- 1 cup warm water (about 110°F)
- 1/3 cup extra virgin olive oil
- 3 large eggs, at room temperature
- 1 teaspoon apple cider vinegar
Mix these ingredients until smooth. A well-blended mixture helps create a consistent batter.
Combining ingredients effectively
Pour the wet mixture into the bread machine pan first. Next, add the dry mixture on top. This order prevents clumping and ensures even mixing.
Selecting the right bread machine setting
Close the bread machine lid and select the gluten-free bread setting. Press Start to begin mixing and baking.
Monitoring dough consistency during mixing
After 5-10 minutes of mixing, check the dough through the viewing window. It should look thick and slightly sticky. If it's too dry, add a teaspoon of warm water. If it's too wet, mix in a tablespoon of gluten-free flour.
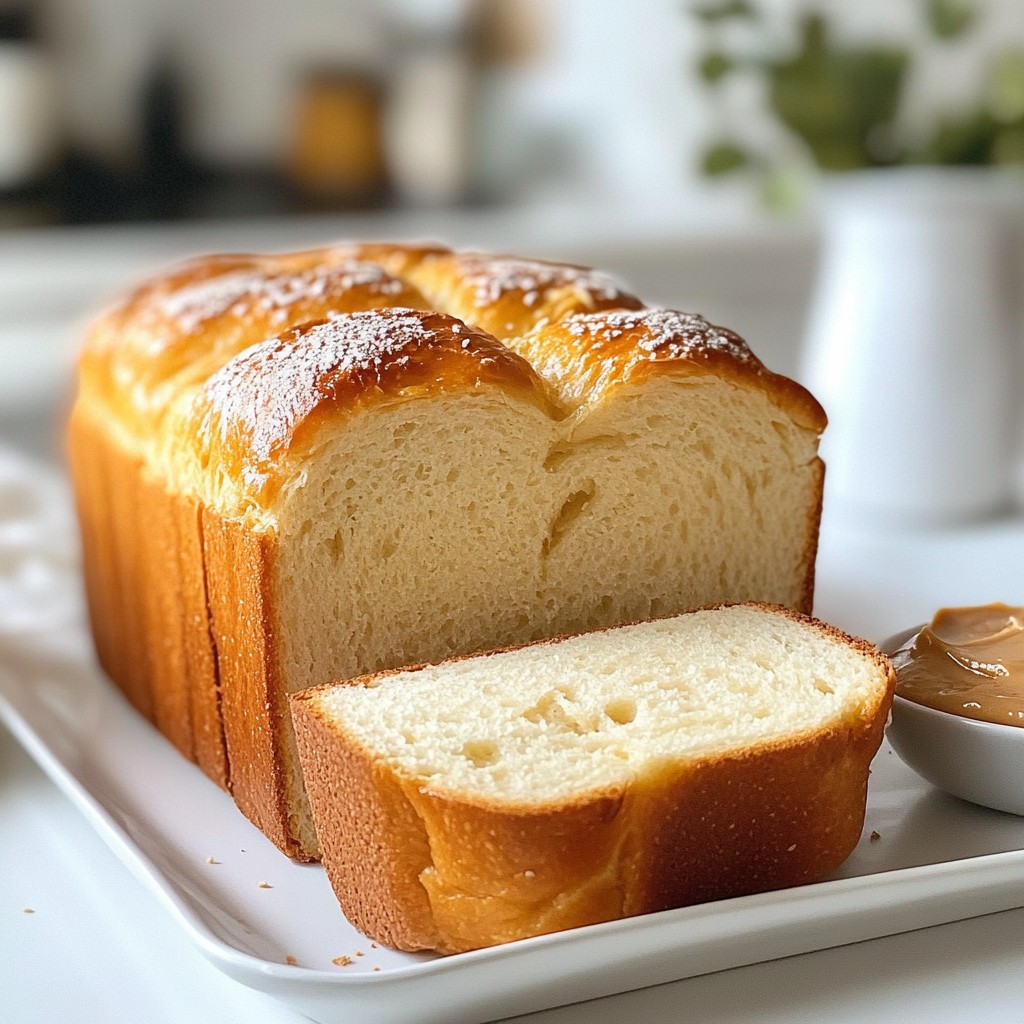
Cooling and slicing the finished bread
Once the baking cycle ends, carefully remove the bread pan using oven mitts. Let the bread cool in the pan for about 10 minutes. Then, transfer the bread to a wire rack to cool fully. Once cool, slice it with a serrated knife. Enjoy your fresh bread with almond butter or alongside a warm soup!
Tips & Tricks
Best practices for gluten-free bread making
When making gluten-free bread, keep these tips in mind:
- Use fresh gluten-free flour. Old flour can lead to dense bread.
- Measure ingredients carefully. Accurate measurements ensure the best texture.
- Don't skip xanthan gum. It helps bind the ingredients and adds structure.
- Let eggs reach room temperature. This helps them mix better and improves rise.
- Check the dough consistency. It should be slightly sticky but not wet.
Troubleshooting common gluten-free bread issues
If your bread doesn't turn out as expected, here are some fixes:
- Dense bread: This might mean too much flour. Try measuring again.
- Crumbly texture: This can happen from too little moisture. Add a bit of water next time.
- Bread not rising: Ensure your yeast is fresh. Old yeast won't activate properly.
- Wet dough: If the dough is too wet, add more flour a tablespoon at a time.
How to enhance the flavor and texture of gluten-free bread
To make your gluten-free bread even tastier, try these ideas:
- Add herbs like rosemary or thyme for an aromatic flavor.
- Mix in seeds, like sunflower or poppy, for crunch and nutrition.
- Use honey or maple syrup instead of sugar for a subtle sweetness.
- Experiment with different gluten-free flours. Brown rice flour or coconut flour can change the taste.
- Add spices, such as cinnamon or nutmeg, for a warm hint of flavor.
Pro Tips
- Flour Blend Balance: Make sure to use a high-quality gluten-free all-purpose flour blend that contains xanthan gum for better texture.
- Egg Temperature: Using eggs at room temperature helps to create a better rise and texture in your gluten-free bread.
- Check Dough Consistency: Always monitor the dough consistency while mixing; it should be thick and slightly sticky. Adjust with water or flour as necessary.
- Cooling Process: Let your bread cool completely before slicing to prevent it from becoming gummy; this ensures clean slices and better texture.
Variations
Adding seeds and nuts for extra flavor
To make your gluten-free bread even better, add seeds and nuts. They give a crunchy texture and great taste. Here are some ideas:
- Chia seeds: These seeds add fiber and omega-3.
- Sunflower seeds: They give a nutty flavor and a bit of crunch.
- Walnuts: They add richness and healthy fats.
- Pumpkin seeds: They bring a nice bite and are good for you.
When adding these ingredients, use about 1/4 cup in total. Mix them into the dry ingredients to spread them evenly.
Suggested ingredient substitutions
Sometimes, you may not have all the ingredients on hand. Here are some easy swaps:
- Gluten-free all-purpose flour: You can use oat flour or brown rice flour.
- Tapioca flour: Cornstarch works well too and helps with texture.
- Almond flour: If you need nut-free, use sunflower seed flour.
Always keep the same total amount of flour. This keeps the bread’s consistency just right.
Gluten-free bread flavor combinations (e.g., herbs, spices)
You can also change the flavor with herbs and spices. Here are some great combinations:
- Rosemary and garlic: This mix gives a savory touch.
- Cinnamon and nutmeg: Perfect for a sweet bread.
- Oregano and basil: These herbs work well for a pizza-style loaf.
Add about 1-2 teaspoons of your chosen herbs or spices to the dry mix. This way, your bread will taste amazing and unique!
Storage Info
Best methods for storing gluten-free bread
To keep your gluten-free bread fresh, wrap it well. Use plastic wrap or a zip-top bag. Store it at room temperature for up to three days. If you want to keep it longer, consider freezing it. Make sure the bread is cool before you wrap it. This prevents moisture buildup that can cause sogginess.
How to freeze gluten-free bread effectively
Freezing gluten-free bread is easy. First, slice the bread if you haven’t already. This allows you to take out just what you need. Wrap each slice in plastic wrap. Then, place the wrapped slices in a freezer bag. Press out excess air before sealing. This way, the bread stays fresh for up to three months.
Reheating tips for maintaining freshness
When you're ready to enjoy your bread, reheating is simple. For individual slices, use a toaster or a toaster oven. This will keep the crust nice and crisp. If you have a whole loaf, wrap it in aluminum foil. Heat it in a 350°F oven for about 15-20 minutes. This helps restore moisture and warmth without drying it out.
FAQs
Can I use regular bread flour instead of gluten-free flour?
No, you cannot use regular bread flour. It contains gluten, which is key for traditional bread. Gluten-free bread needs special flours that do not contain gluten. Using gluten-free all-purpose flour is best for this recipe.
Why is xanthan gum necessary in gluten-free bread recipes?
Xanthan gum acts as a binder. It helps to hold the ingredients together. Gluten usually does this in regular bread, but gluten-free recipes need a substitute. Xanthan gum gives your bread a better texture and makes it less crumbly.
How do I know when the gluten-free bread is done baking?
Check the color and texture. The bread should be golden brown on top. It should feel firm to the touch. An instant-read thermometer can help too. The center should read about 200°F. If it’s not quite there, let it bake a bit longer.
What should I do if my gluten-free bread doesn’t rise?
If your bread doesn’t rise, check a few things. Make sure your yeast is fresh. Old yeast won’t work well. Also, the water should be warm, not hot. Too hot can kill the yeast. Lastly, ensure you mixed the dough well. A good mix can help the bread rise.
How do I make gluten-free bread without a bread machine?
You can make gluten-free bread by hand. Use the same ingredients but mix them in a bowl. Knead the dough for about 5-10 minutes. Place it in a greased loaf pan. Let it rise in a warm spot until it doubles in size. Then bake it at 350°F for 30-40 minutes.
Making gluten-free bread involves choosing quality ingredients, mixing them well, and using the right settings on your bread machine. You have tips to enhance your bread's flavor and texture, along with storage methods to keep it fresh. Remember to troubleshoot any issues you face to improve your results. With practice and creativity, you can enjoy delicious gluten-free bread anytime. Happy baking!