Homemade Rock Candy Easy and Fun Recipe Guide

WANT TO SAVE THIS RECIPE?

Are you ready to make your own sweet masterpiece? In this guide, I’ll show you how to create homemade rock candy that’s easy and fun. With just a few simple ingredients and some patience, you can transform sugar into beautiful crystals. Plus, I’ll share tips for flavor and color variations, so you can make candy that suits any occasion. Get your supplies ready, and let’s start this delicious journey!

Why I Love This Recipe

  1. Creative Process: This recipe allows you to engage in a fun and creative process of making your own candy at home, perfect for all ages.
  2. Customizable Flavors: You can personalize your sugar delights with different flavored extracts and food coloring, making each batch unique.
  3. Great for Gifting: These crystalized sugar delights make adorable gifts, especially when presented in decorative jars or bags.
  4. Deliciously Sweet: Enjoy the satisfaction of tasting your homemade rock candy, which offers a delightful crunch and sweetness in every bite.
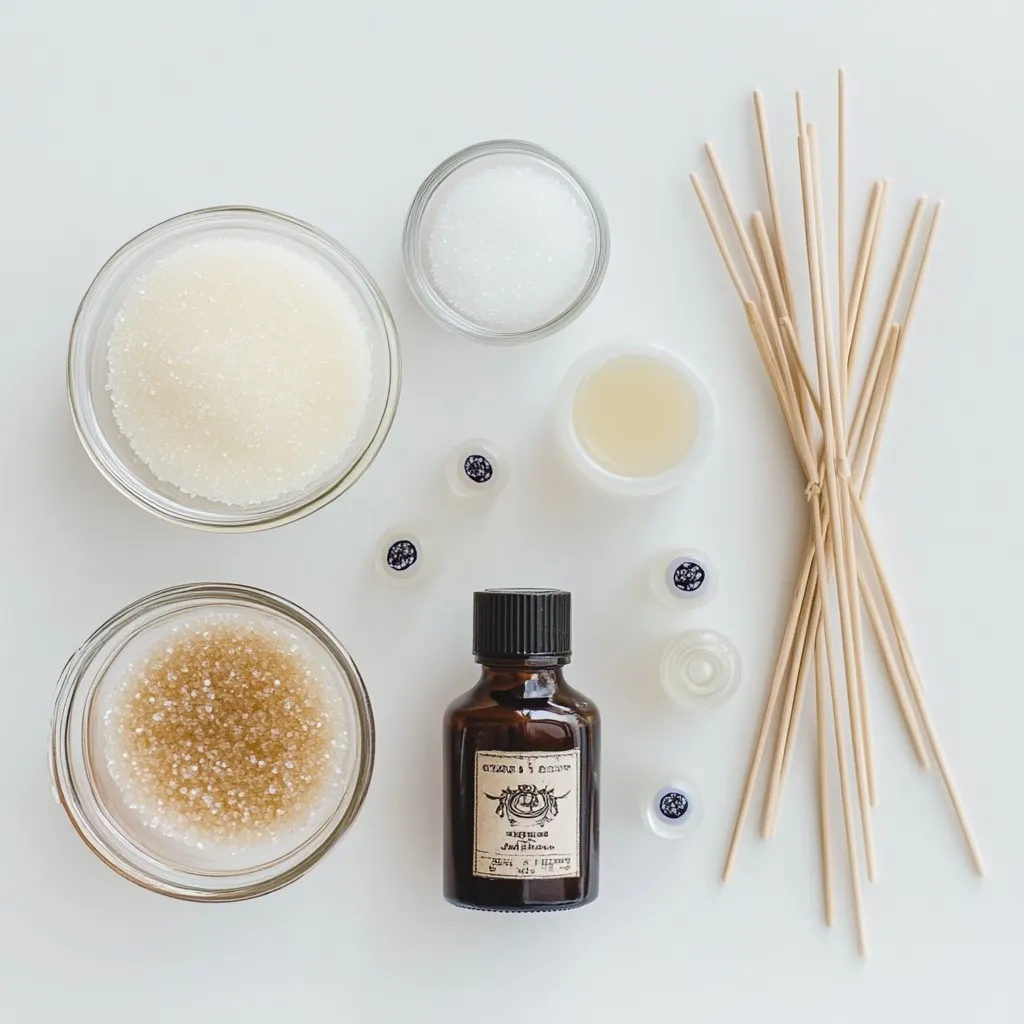
Ingredients

Main Ingredients Needed

– 2 cups granulated sugar

– 1 cup water

– 1-2 drops food coloring (optional)

– 1 tablespoon flavored extract (like vanilla or peppermint)

To make rock candy, you need just a few simple items. The main ingredient is granulated sugar. This is what will turn into those great crystals. You will also need water to help dissolve the sugar. If you want, you can add a drop or two of food coloring. This will make your candy more fun! Lastly, flavored extracts add a yummy taste. You can pick from many flavors.

Equipment Required

– Wooden skewers or strings

– Clean glass jar

– Medium-sized saucepan

You will need some tools for this candy-making adventure. First, grab wooden skewers or strings. These will hold the sugar crystals as they grow. Next, you need a clean glass jar. Make sure it is free from dirt. Lastly, a medium-sized saucepan is key. This is where you will mix the sugar and water. With these ingredients and tools, you’ll be ready to create your own rock candy!

Step-by-Step Instructions

Preparing the Jar

First, clean your glass jar well. Wash it with hot water to remove any dirt. Rinse it thoroughly and let it dry completely. This ensures a clean spot for your sugar crystals to grow.

Making the Sugar Solution

In a medium saucepan, mix 2 cups of granulated sugar with 1 cup of water. Heat the mixture over medium heat. Stir gently until the sugar dissolves fully. Once dissolved, let it boil gently. Watch carefully and ensure no sugar granules remain.

Adding Color and Flavor

When the sugar solution boils, take it off the heat. If you want to add fun color, now is the time! Add 1-2 drops of food coloring. You can also add your choice of flavored extract, like vanilla or peppermint. Stir well to mix everything.

Cooling and Preparing Skewers

Let the syrup cool for about 10 to 15 minutes. This step is important for crystal growth. While it cools, take wooden skewers or strings and dampen them with water. Roll them in granulated sugar. This creates a base for the sugar crystals.

Assembling for Crystallization

Now, dip the sugar-coated skewers into the cooled syrup. Make sure they are fully coated. Place the skewers upright in the jar. Keep them from touching the sides or each other. This helps the crystals grow well.

Waiting for Crystals to Form

Cover the jar’s opening with a paper towel or cheesecloth. This keeps dust out but allows air flow. Put the jar in a cool and dark spot. Over the next 5 to 7 days, sugar crystals will form on the skewers. Be patient and watch the magic happen!

Tips & Tricks

Perfecting Crystal Growth

To get great crystals, keep a few things in mind. First, make sure your sugar solution is clean. Any dirt can hurt crystal growth. Second, keep the jar in a cool, dry place. If it’s too warm, crystals may not form right. Third, don’t shake the jar. This lets crystals grow better. You can also try using a higher sugar ratio. Instead of 2 cups, use 2.5 cups for thicker crystals.

Troubleshooting Common Issues

Sometimes, crystals don’t form well. If they look fuzzy, your jar might have dirt. Clean it and try again. If your crystals are too small, the solution might be too cold. Ensure it stays warm while they grow. If the sugar settles at the bottom, that means the solution is too saturated. You can add more water and heat it again. Remember, patience is key!

Presentation and Gifting Ideas

Once your rock candy is ready, it’s time to show it off! Place your candy in a pretty jar. You can tie a ribbon around the jar for a nice touch. For gifts, fill small bags with rock candy. Use colorful bags and add a tag for a personal touch. You can even make themed gifts for holidays. Use seasonal colors or flavors to make it more fun!

Pro Tips

  1. Choose the Right Location: Ensure that the jar is placed in a cool, undisturbed area away from direct sunlight to promote proper crystal growth.
  2. Keep It Clean: Make sure all utensils and jars are thoroughly cleaned to avoid impurities that could interfere with crystal formation.
  3. Experiment with Flavors: Feel free to try different flavored extracts to create unique and delicious variations of your sugar delights.
  4. Be Patient: Allow adequate time for the crystals to form; checking too frequently can disrupt the process and affect the final results.

Variations

Flavor Variation Ideas

You can make rock candy with many fun flavors. Consider these options for extracts:

– Vanilla

– Peppermint

– Almond

– Coconut

– Lemon

– Orange

– Raspberry

Adding a different flavor changes the taste. You can mix or match flavors to create a unique treat. For example, vanilla and almond make a delicious combo!

Color Combinations

Get creative with food coloring! You can use different colors to make your candy pop. Here are some ideas:

– Use blue and yellow for a sunny look.

– Mix red and green for a festive vibe.

– Try purple and pink for a fun party treat.

Layer colors in the jar for a rainbow effect. Just add one color at a time and let it set before adding the next.

Seasonal & Themed Variations

You can make special rock candy for holidays or events. Here are some fun ideas:

– Red and green for Christmas.

– Pastels for Easter.

– Bright colors for summer parties.

– Orange and black for Halloween.

You can also shape your candy to match the theme. Use cookie cutters to create fun shapes once the candy is ready. These ideas make rock candy a hit for any occasion!

Storage Info

Best Storage Practices

To keep your rock candy fresh, store it in a cool, dry place. Avoid moisture because it makes the candy sticky. If you see any signs of humidity, act fast. You can wrap each piece in wax paper. This will help keep them dry and yummy!

Container Recommendations

Use an airtight container for the best storage. A glass jar with a tight lid works great. You can also use plastic containers with seals. Make sure to keep them away from sunlight. Sunlight can change the candy’s color and taste over time.

Signs of Spoilage

Check for any changes in texture or color. If your rock candy feels sticky or wet, it may have gone bad. Look for any signs of mold or strange smells. If you notice any of these, it’s time to toss them. Always trust your senses!

FAQs

How long does it take to make rock candy?

Making rock candy involves two main stages: prep and crystallization. First, you spend about 15 minutes preparing the sugar solution. After that, you must wait for the crystals to grow. This can take 5 to 7 days. The longer you wait, the bigger your crystals will be.

Can I reuse the sugar solution?

Yes, you can reuse the sugar solution. If you have extra syrup left, store it in a clean jar. When you are ready to make more candy, heat it again until it boils. Just make sure to check for any impurities before using it again.

What might cause the crystals to not form?

Several factors can stop your crystals from forming. Here are some common issues and their fixes:

Temperature: If it’s too hot or cold, crystals may not form. Keep the jar in a stable, cool place.

Stirring: If you stir the solution after it cools, it can break crystals. Avoid stirring once the skewers are in.

Cleanliness: Any residue in the jar can prevent growth. Always clean jars well before starting.

We covered how to make rock candy with just a few ingredients and tools. You learned to prepare the jar, make the sugar solution, and add flavor and color. I shared tips for perfect crystal growth and fixing common issues. You can try different flavors and colors to make your rock candy unique. Remember to store it properly to keep it fresh. Making rock candy is fun and gives you a tasty treat. Enjoy creating your sweet masterpiec

- 2 cups granulated sugar - 1 cup water - 1-2 drops food coloring (optional) - 1 tablespoon flavored extract (like vanilla or peppermint) To make rock candy, you need just a few simple items. The main ingredient is granulated sugar. This is what will turn into those great crystals. You will also need water to help dissolve the sugar. If you want, you can add a drop or two of food coloring. This will make your candy more fun! Lastly, flavored extracts add a yummy taste. You can pick from many flavors. - Wooden skewers or strings - Clean glass jar - Medium-sized saucepan You will need some tools for this candy-making adventure. First, grab wooden skewers or strings. These will hold the sugar crystals as they grow. Next, you need a clean glass jar. Make sure it is free from dirt. Lastly, a medium-sized saucepan is key. This is where you will mix the sugar and water. With these ingredients and tools, you'll be ready to create your own rock candy! {{ingredient_image_2}} First, clean your glass jar well. Wash it with hot water to remove any dirt. Rinse it thoroughly and let it dry completely. This ensures a clean spot for your sugar crystals to grow. In a medium saucepan, mix 2 cups of granulated sugar with 1 cup of water. Heat the mixture over medium heat. Stir gently until the sugar dissolves fully. Once dissolved, let it boil gently. Watch carefully and ensure no sugar granules remain. When the sugar solution boils, take it off the heat. If you want to add fun color, now is the time! Add 1-2 drops of food coloring. You can also add your choice of flavored extract, like vanilla or peppermint. Stir well to mix everything. Let the syrup cool for about 10 to 15 minutes. This step is important for crystal growth. While it cools, take wooden skewers or strings and dampen them with water. Roll them in granulated sugar. This creates a base for the sugar crystals. Now, dip the sugar-coated skewers into the cooled syrup. Make sure they are fully coated. Place the skewers upright in the jar. Keep them from touching the sides or each other. This helps the crystals grow well. Cover the jar's opening with a paper towel or cheesecloth. This keeps dust out but allows air flow. Put the jar in a cool and dark spot. Over the next 5 to 7 days, sugar crystals will form on the skewers. Be patient and watch the magic happen! To get great crystals, keep a few things in mind. First, make sure your sugar solution is clean. Any dirt can hurt crystal growth. Second, keep the jar in a cool, dry place. If it’s too warm, crystals may not form right. Third, don’t shake the jar. This lets crystals grow better. You can also try using a higher sugar ratio. Instead of 2 cups, use 2.5 cups for thicker crystals. Sometimes, crystals don’t form well. If they look fuzzy, your jar might have dirt. Clean it and try again. If your crystals are too small, the solution might be too cold. Ensure it stays warm while they grow. If the sugar settles at the bottom, that means the solution is too saturated. You can add more water and heat it again. Remember, patience is key! Once your rock candy is ready, it’s time to show it off! Place your candy in a pretty jar. You can tie a ribbon around the jar for a nice touch. For gifts, fill small bags with rock candy. Use colorful bags and add a tag for a personal touch. You can even make themed gifts for holidays. Use seasonal colors or flavors to make it more fun! Pro Tips Choose the Right Location: Ensure that the jar is placed in a cool, undisturbed area away from direct sunlight to promote proper crystal growth. Keep It Clean: Make sure all utensils and jars are thoroughly cleaned to avoid impurities that could interfere with crystal formation. Experiment with Flavors: Feel free to try different flavored extracts to create unique and delicious variations of your sugar delights. Be Patient: Allow adequate time for the crystals to form; checking too frequently can disrupt the process and affect the final results. {{image_4}} You can make rock candy with many fun flavors. Consider these options for extracts: - Vanilla - Peppermint - Almond - Coconut - Lemon - Orange - Raspberry Adding a different flavor changes the taste. You can mix or match flavors to create a unique treat. For example, vanilla and almond make a delicious combo! Get creative with food coloring! You can use different colors to make your candy pop. Here are some ideas: - Use blue and yellow for a sunny look. - Mix red and green for a festive vibe. - Try purple and pink for a fun party treat. Layer colors in the jar for a rainbow effect. Just add one color at a time and let it set before adding the next. You can make special rock candy for holidays or events. Here are some fun ideas: - Red and green for Christmas. - Pastels for Easter. - Bright colors for summer parties. - Orange and black for Halloween. You can also shape your candy to match the theme. Use cookie cutters to create fun shapes once the candy is ready. These ideas make rock candy a hit for any occasion! To keep your rock candy fresh, store it in a cool, dry place. Avoid moisture because it makes the candy sticky. If you see any signs of humidity, act fast. You can wrap each piece in wax paper. This will help keep them dry and yummy! Use an airtight container for the best storage. A glass jar with a tight lid works great. You can also use plastic containers with seals. Make sure to keep them away from sunlight. Sunlight can change the candy's color and taste over time. Check for any changes in texture or color. If your rock candy feels sticky or wet, it may have gone bad. Look for any signs of mold or strange smells. If you notice any of these, it’s time to toss them. Always trust your senses! Making rock candy involves two main stages: prep and crystallization. First, you spend about 15 minutes preparing the sugar solution. After that, you must wait for the crystals to grow. This can take 5 to 7 days. The longer you wait, the bigger your crystals will be. Yes, you can reuse the sugar solution. If you have extra syrup left, store it in a clean jar. When you are ready to make more candy, heat it again until it boils. Just make sure to check for any impurities before using it again. Several factors can stop your crystals from forming. Here are some common issues and their fixes: - Temperature: If it's too hot or cold, crystals may not form. Keep the jar in a stable, cool place. - Stirring: If you stir the solution after it cools, it can break crystals. Avoid stirring once the skewers are in. - Cleanliness: Any residue in the jar can prevent growth. Always clean jars well before starting. We covered how to make rock candy with just a few ingredients and tools. You learned to prepare the jar, make the sugar solution, and add flavor and color. I shared tips for perfect crystal growth and fixing common issues. You can try different flavors and colors to make your rock candy unique. Remember to store it properly to keep it fresh. Making rock candy is fun and gives you a tasty treat. Enjoy creating your sweet masterpiece!

Crystalized Sugar Delights

A fun and sweet treat that allows you to create your own rock candy at home.
Prep Time 15 minutes
Cook Time 10 minutes
Total Time 7 days
Course Dessert
Cuisine American

Ingredients
  

  • 2 cups granulated sugar
  • 1 cup water
  • 1 drops food coloring (optional)
  • 1 tablespoon flavored extract (such as vanilla or peppermint)
  • 1 unit Wooden skewers or strings
  • 1 unit A clean glass jar

Instructions
 

  • Prepare the Jar: Begin by thoroughly cleaning your glass jar to ensure it is free of any residue. Rinse well with hot water and allow it to dry completely to create a clean environment for the sugar crystals to grow.
  • Make the Sugar Solution: In a medium-sized saucepan, combine the granulated sugar and water. Place the saucepan over medium heat, stirring gently until the sugar is completely dissolved. Continue to heat the mixture until it reaches a gentle boil, ensuring that no sugar granules remain.
  • Add Color and Flavor: Once your sugar has fully dissolved and the mixture is boiling, remove the saucepan from heat. If you wish to add color and flavor to your sugar delights, now is the time! Incorporate 1-2 drops of food coloring and your choice of flavored extract, stirring well to combine the ingredients.
  • Cool the Mixture: Allow the syrup to cool for approximately 10-15 minutes. This step is crucial as it prepares the syrup for the skewers and aids in the crystal formation process.
  • Prepare the Skewers: While your syrup cools, take the wooden skewers or strings and dampen them lightly with water. Roll the wet surfaces in granulated sugar, creating a ‘seed’ layer that will foster the growth of sugar crystals.
  • Assemble for Crystallization: Carefully dip the sugar-coated skewers or strings into the cooled syrup, ensuring that they are completely coated. Once coated, position them upright in the jar, making sure they do not touch the sides or each other to allow for optimum crystal formation.
  • Let it Crystalize: Cover the opening of the jar with a paper towel or cheesecloth. This precaution keeps out dust while permitting air to circulate. Place your jar in a cool, undisturbed location away from direct sunlight.
  • Wait for Crystals to Form: Be patient as the solution sits. Over the next 5 to 7 days, you will begin to witness delightful sugar crystals developing on the skewers or strings.
  • Harvest Your Candy: When the crystals have reached your preferred size, gently remove the skewers from the jar. Allow them to dry on a wire rack or paper towel for a few hours, and then enjoy savoring your homemade rock candy creations!
  • Store Correctly: To keep any leftovers from becoming sticky or absorbing moisture, store them in a sealed container in a cool, dry place.

Notes

For a festive touch, display your crystal delights in a decorative jar or package them in small bags tied with ribbons for gifting!
Keyword candy, rock candy, sugar crystals

WANT TO SAVE THIS RECIPE?

Leave a Comment

Recipe Rating