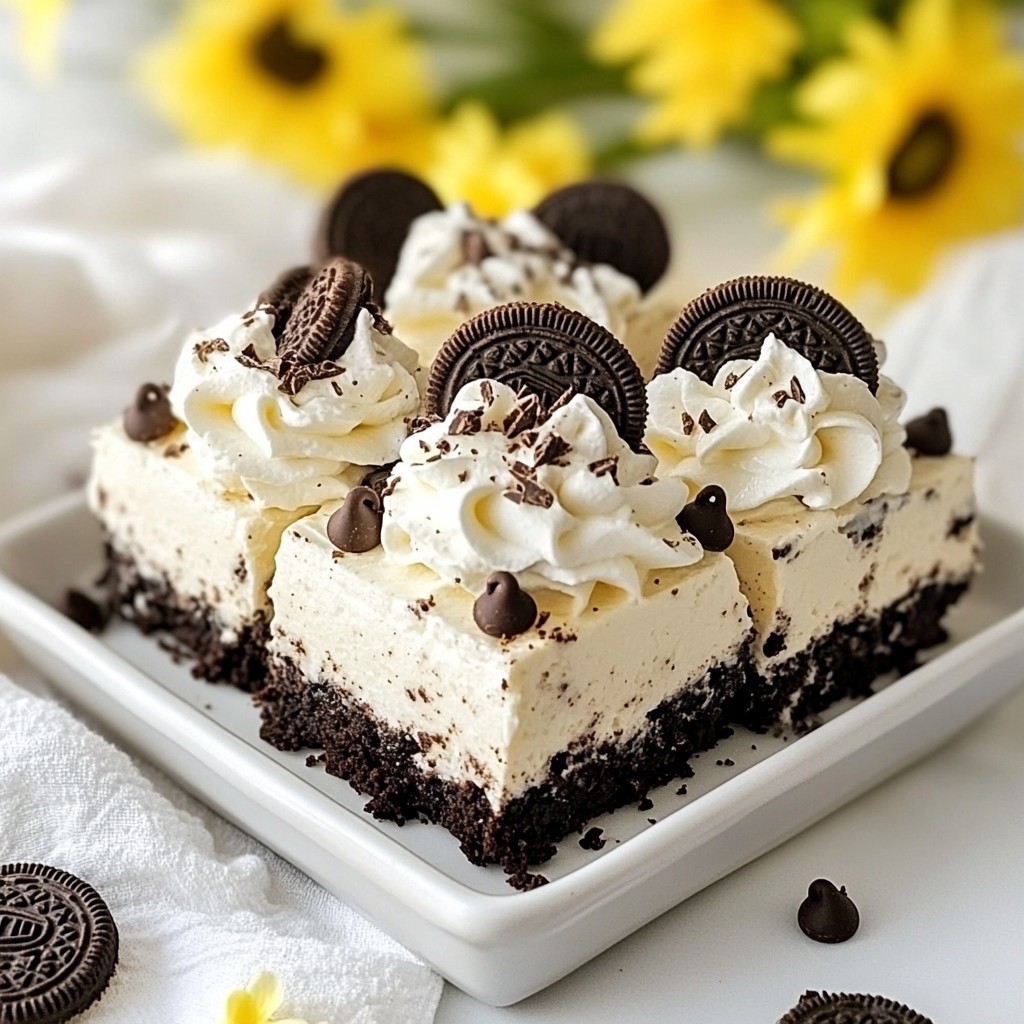
Looking for a quick, delicious treat? Try these No-Bake Oreo Bars! They’re easy to make and perfect for any occasion. With just a few simple ingredients like crushed Oreo cookies, cream cheese, and chocolate chips, you can whip up a dessert that everyone will love. I’ll guide you through each step, so let's dive right into making this tasty treat you won’t want to miss!
Why I Love This Recipe
- Easy to Make: This no-bake recipe requires minimal effort, making it perfect for both novice and experienced bakers.
- Decadent Flavor: The combination of cream cheese and Oreo cookies creates a rich and creamy dessert that's hard to resist.
- Perfect for Any Occasion: Whether it's a family gathering or a casual get-together, these bars are sure to impress your guests.
- Customizable Toppings: You can easily add your favorite toppings, such as nuts or fruit, to make these bars your own.
Ingredients
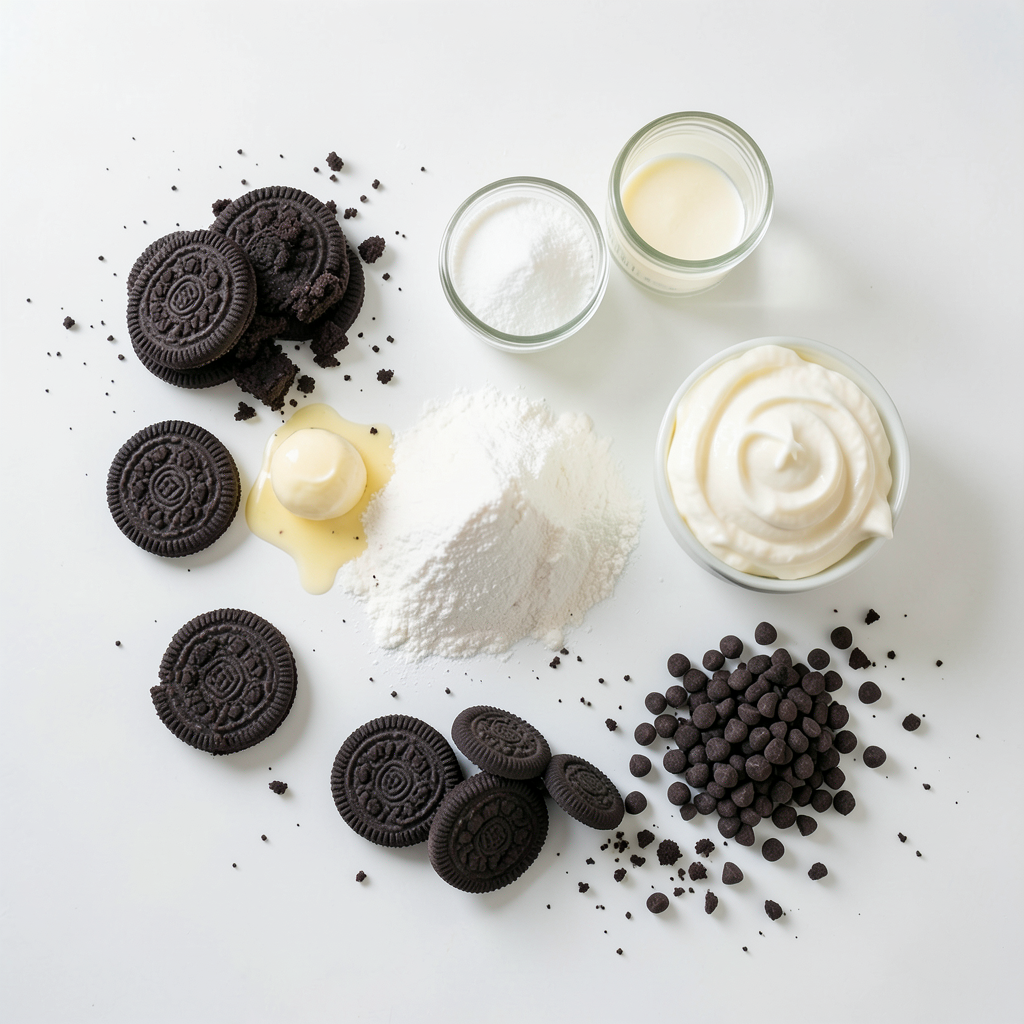
Essential Ingredients for No-Bake Oreo Bars
- 24 Oreo cookies, finely crushed
- ½ cup unsalted butter, melted
- 1 ½ cups cream cheese, softened to room temperature
The base of these bars starts with crushed Oreo cookies. You need to crush them finely to make a great crust. Adding melted butter helps bind the crumbs together. The cream cheese adds a rich, creamy layer that makes the bars taste amazing.
Sweet Additions
- 1 cup powdered sugar
- 1 teaspoon pure vanilla extract
- 1 cup whipped topping (such as Cool Whip)
Next, you mix in powdered sugar for sweetness and vanilla for flavor. The whipped topping gives the cream cheese layer a light and fluffy texture. This mix creates a smooth, sweet layer that pairs well with the cookies.
Toppings and Garnishes
- ½ cup chocolate chips (semi-sweet or dark)
- Additional crushed Oreo cookies for garnish
Finally, you can sprinkle chocolate chips on top. They add extra sweetness and a touch of richness. The crushed Oreos on top give a nice crunch and make it look pretty. This way, each bite is a mix of creamy and crunchy.
Step-by-Step Instructions
Preparing the Oreo Crust
- Start by crushing 24 Oreo cookies into fine crumbs. You can use a food processor or place them in a bag and use a rolling pin.
- In a large bowl, combine the crushed Oreos with ½ cup of melted unsalted butter. Mix them well until every crumb is coated.
- Now, take this mixture and pour it into a greased 9x9-inch baking dish.
- Use the back of a spoon or a spatula to press the mixture firmly into the dish. This creates a solid crust that will hold your bars together.
Making the Cream Cheese Layer
- In another bowl, beat 1 ½ cups of softened cream cheese with 1 cup of powdered sugar and 1 teaspoon of pure vanilla extract.
- Use an electric mixer on medium speed. Mix until the cream cheese is smooth and there are no lumps.
- Next, gently fold in 1 cup of whipped topping using a spatula. Mix carefully so you keep the light, airy texture.
Assembling the Bars
- Spread the cream cheese mixture evenly over the Oreo crust in the baking dish. Smooth the top with a spatula.
- Sprinkle ½ cup of chocolate chips and additional crushed Oreo cookies on top. Lightly press them down to help them stick.
- Cover the baking dish with plastic wrap and place it in the refrigerator. Chill for at least 4 hours until the bars are firm.
- Once set, use a sharp knife to cut the dessert into squares or bars. Enjoy each bite!
Tips & Tricks
Perfecting Your No-Bake Bars
To get the best no-bake Oreo bars, start with soft cream cheese. Let it sit at room temperature for about 30 minutes. This step helps it mix better. When you add the whipped topping, be very gentle. Fold it in slowly. This keeps the light, airy texture that you want.
Presentation Suggestions
Make your bars look amazing! Use a pretty platter to serve them. Drizzle some chocolate syrup on top for a nice touch. You can also add a dollop of whipped cream on each piece. A sprinkle of crushed Oreos on top adds flair and makes them more fun.
Common Mistakes to Avoid
Watch out for overmixing your cream cheese layer. This can make it dense instead of smooth. Also, don't rush the chilling step. If you don't let the bars chill long enough, they won’t set properly. Keep them in the fridge for at least 4 hours to get the right texture.
Pro Tips
- Chill Your Cream Cheese: Ensure your cream cheese is at room temperature before mixing. This helps achieve a smooth and creamy filling without lumps.
- Press Firmly: When creating the crust, press the Oreo mixture down firmly to ensure it holds together well once set. A solid base is key for easy cutting later.
- Customize the Toppings: Feel free to get creative with the toppings! Add different types of chocolate chips, sprinkles, or even nuts for added texture and flavor.
- Let It Set: For the best results, allow the bars to chill in the refrigerator for at least 4 hours. This ensures they are firm and easy to slice into perfect squares.
Variations
Flavor Enhancements
You can change the flavor by using flavored cream cheese. Try strawberry or chocolate cream cheese for a fun twist. You can also add different types of chocolate chips. Use milk or white chocolate to give your bars a new taste.
Alternative Toppings
Add some crunch by incorporating nuts or sprinkles. Chopped nuts, like pecans or walnuts, work great. You can also try different cookie crumbs for the crust. Using graham cracker crumbs or even peanut butter cookies can create a fun new base.
Healthier Versions
For a lighter option, substitute low-fat cream cheese and whipped topping. This small change cuts calories without losing flavor. If you need a gluten-free treat, use gluten-free Oreo cookies. They taste just as good and make everyone happy.
Storage Info
Best Storage Practices
To keep your bars fresh, store them in the refrigerator. Use an airtight container to keep out moisture. This helps maintain their taste and texture.
Freezing Tips
You can freeze these bars for up to 2 months. When you're ready to enjoy them, simply thaw in the refrigerator. This method keeps the flavor intact.
Shelf Life
For the best taste and texture, enjoy your bars within a week. After that, they might lose some of their creamy goodness.
FAQs
Can I make these bars ahead of time?
Yes, you can make these bars ahead of time. They stay fresh in the fridge for up to 5 days. This makes them perfect for parties or snacks. Just cover them well to keep them moist.
What can I use instead of whipped topping?
If you want a change, try using homemade whipped cream. You can also use a dairy-free option if needed. Just make sure it’s light and fluffy to keep the texture nice.
How can I make these bars more chocolatey?
To add more chocolate flavor, mix in chocolate pudding with the cream cheese layer. You can also double the chocolate chips for a richer taste. Both options give you a deeper, tastier treat.
No-bake Oreo bars are fun and easy to make. We covered the key ingredients like Oreo cookies, cream cheese, and whipped topping. You learned how to prepare the crust, mix the filling, and assemble the bars. Plus, I shared tips for perfecting your recipe and ways to make it your own. Remember to store your bars well for the best flavor. Enjoy making these delicious treats, and don't be afraid to experiment with new flavors or toppings! Your dessert game just stepped up a notch!