Are you ready to whip up a delicious treat that doesn't require baking? My No-Bake Peanut Butter Bars are simple and fun to make! With just a few ingredients, you can enjoy a sweet snack that satisfies your cravings. Whether you’re a busy parent or a hungry student, these bars are perfect for everyone. Let's explore how to create this easy, yummy dessert that your taste buds will love!
Why I Love This Recipe
- Easy to Make: This no-bake recipe requires minimal effort, making it perfect for busy days or last-minute cravings.
- Healthy Ingredients: Packed with protein from peanut butter and optional protein powder, these bars are a nutritious treat.
- Customizable: Feel free to modify the recipe by adding your favorite nuts, seeds, or even dried fruits for variety.
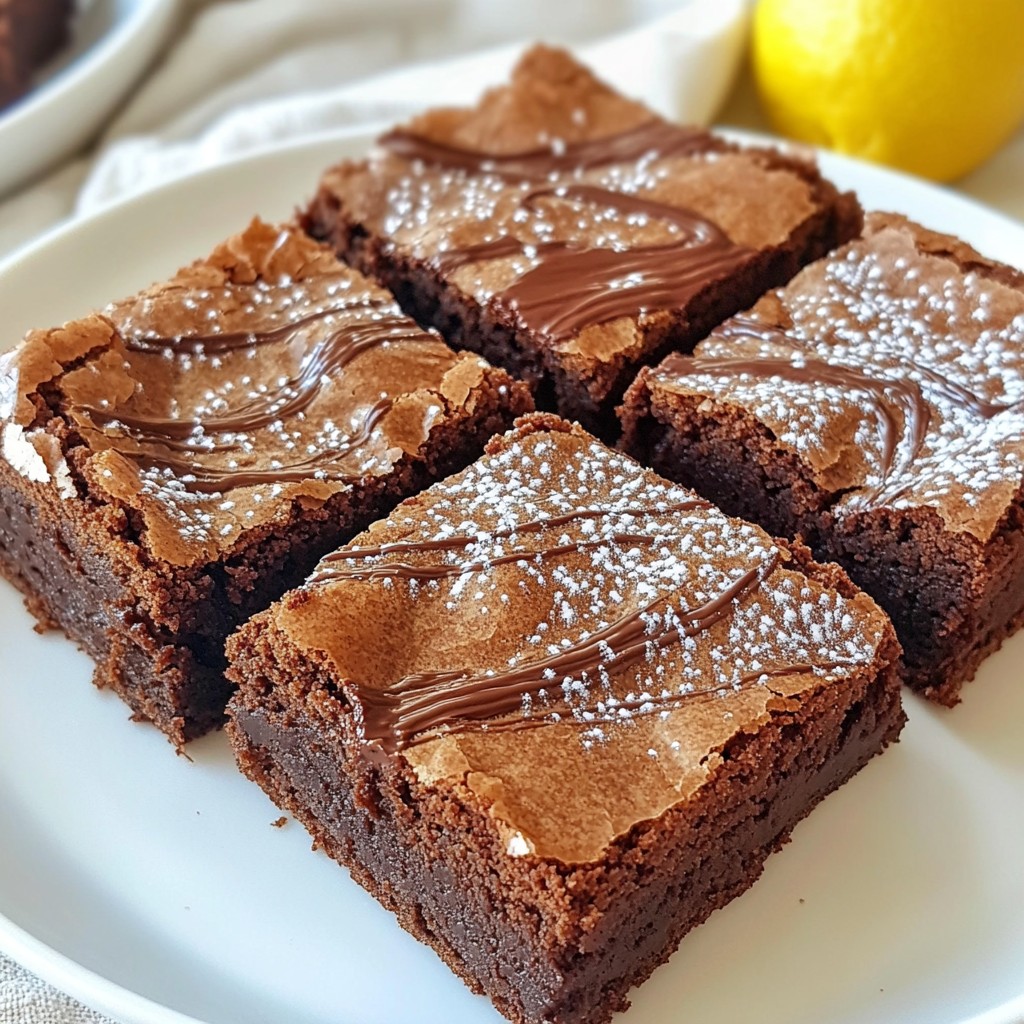
- Deliciously Indulgent: The combination of creamy peanut butter and rich dark chocolate provides a satisfyingly sweet experience.
Ingredients
Essential Ingredients
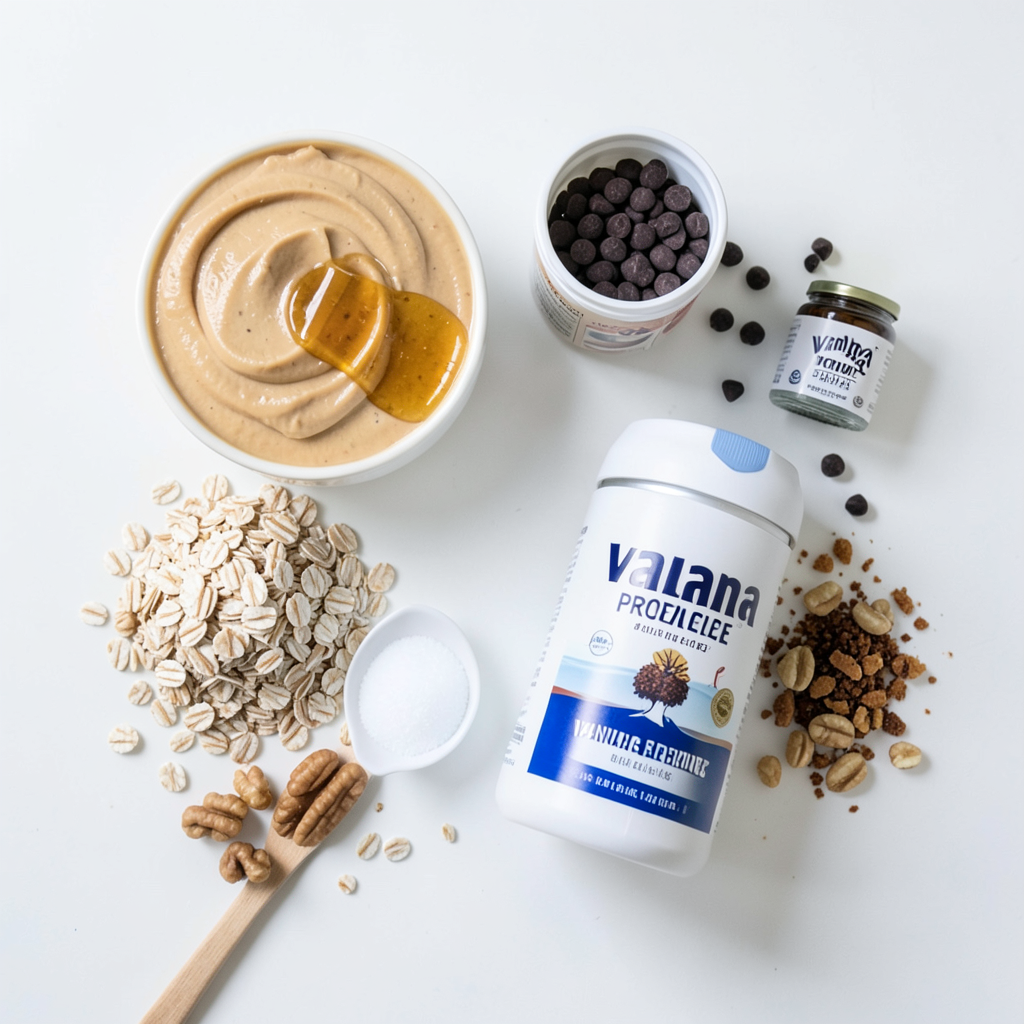
To make No-Bake Peanut Butter Bars, you need a few key items:
- 1 cup creamy peanut butter
- 1/2 cup honey or maple syrup
- 1 1/2 cups rolled oats
- 1/4 teaspoon salt
- 1/2 teaspoon vanilla extract
- 1/2 cup dark chocolate chips
These ingredients give the bars their rich flavor and great texture. The creamy peanut butter binds everything together. Honey or maple syrup adds natural sweetness. Rolled oats provide a hearty base.
Optional Ingredients
You can add some optional items to boost flavor or nutrients:
- 1/2 cup vanilla protein powder
- 1/4 cup crushed nuts (like almonds, walnuts, or peanuts)
The protein powder can help increase protein content. Crushed nuts add a nice crunch on top.
Ingredient Substitutions
You can swap out some ingredients if needed:
- Use almond butter instead of peanut butter for a nut-free option.
- Try agave syrup or brown rice syrup instead of honey or maple syrup.
- If you want a gluten-free option, make sure to use certified gluten-free rolled oats.
These substitutions keep the bars delicious while meeting your dietary needs.
Step-by-Step Instructions
Preparation of Peanut Butter Mixture
Start by gathering your ingredients. You will need creamy peanut butter, honey or maple syrup, rolled oats, and a few other items. In a medium bowl, mix the peanut butter and honey until it is smooth. Use a spatula to blend well. Next, add rolled oats, protein powder, salt, and vanilla extract. Stir everything together until the mix is sticky and all parts are combined. This creates the base of your bars.
Pressing the Mixture into the Pan
Line an 8x8 inch square baking pan with parchment paper. Let the paper hang over the edges. This will help lift the bars out later. Now, transfer your peanut butter mixture into the pan. Use a spatula or your hands to press it down. Make sure it is packed tightly and evenly across the bottom.
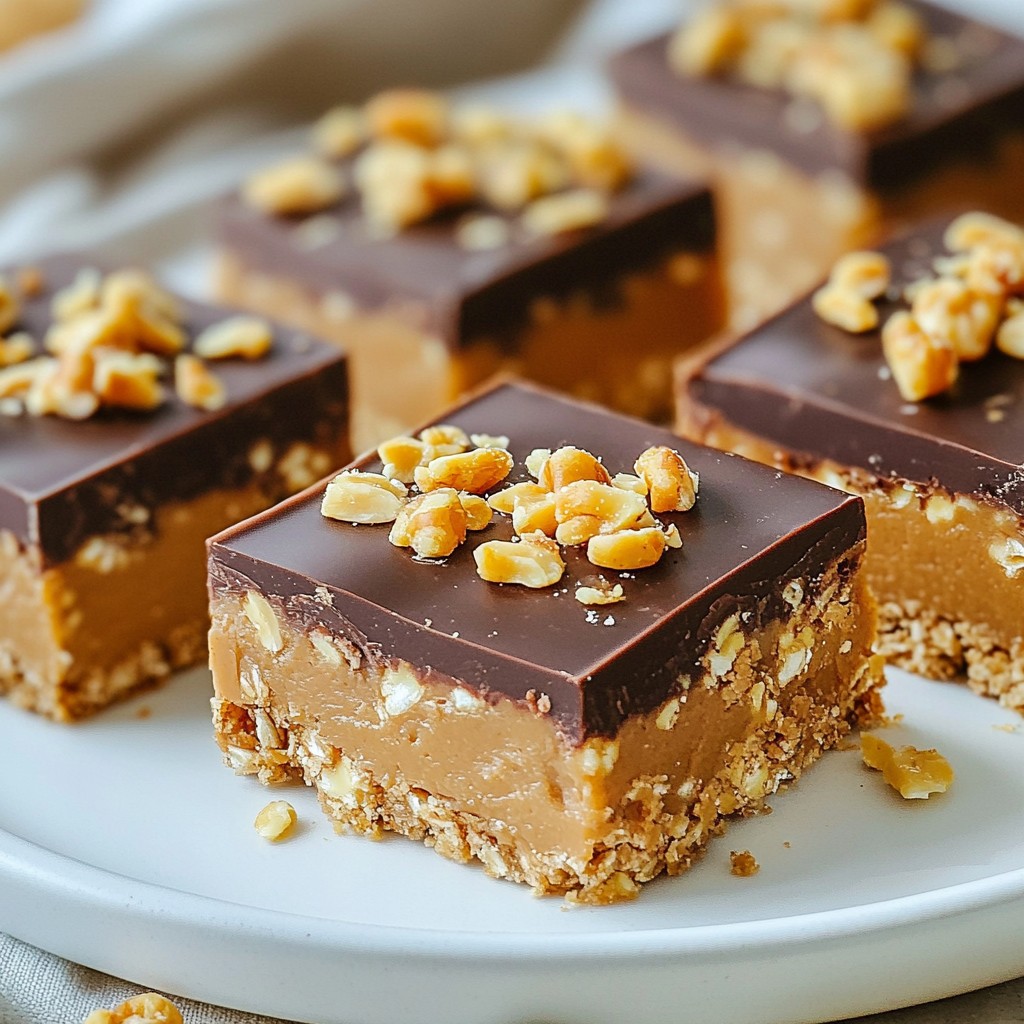
Melting the Chocolate and Assembling
Place dark chocolate chips in a microwave-safe bowl. Heat them in 20-second bursts, stirring in between. Continue until the chocolate is smooth and melted. Pour this melted chocolate over your pressed peanut butter mixture. Use a spatula to spread the chocolate evenly. Now, sprinkle crushed nuts on top. Press them down gently so they stick. Cover the pan with plastic wrap and refrigerate for at least 2 hours to let the bars set. Once firm, lift them out using the parchment paper. Cut into squares or rectangles to serve.
Tips & Tricks
Achieving the Perfect Texture
To get the best texture, use creamy peanut butter. It blends well with the honey. If you want a firmer bar, add a bit more oats. Be sure to mix until it is sticky and holds together. Press the mixture firmly into your pan for a great base. This helps the bars stay intact when you cut them.
Storing Leftovers Effectively
Keep any leftover bars in an airtight container. Store them in the fridge to keep them fresh. They will last up to one week. If you want, you can also freeze them for up to three months. Just wrap each bar in plastic wrap before freezing. This makes it easy to grab a quick snack later.
Serving Suggestions
Serve your bars chilled for the best taste. You can drizzle extra melted chocolate on top for a treat. A pinch of flaky sea salt really enhances the flavor. Try cutting them into fun shapes for kids. These bars are great for lunch boxes or after-school snacks.
Pro Tips
- Use Natural Peanut Butter: Opt for natural peanut butter without added sugars or oils for a healthier option and a more authentic peanut flavor.
- Experiment with Sweeteners: Feel free to substitute honey with maple syrup or agave nectar for a vegan alternative, adjusting to your desired sweetness level.
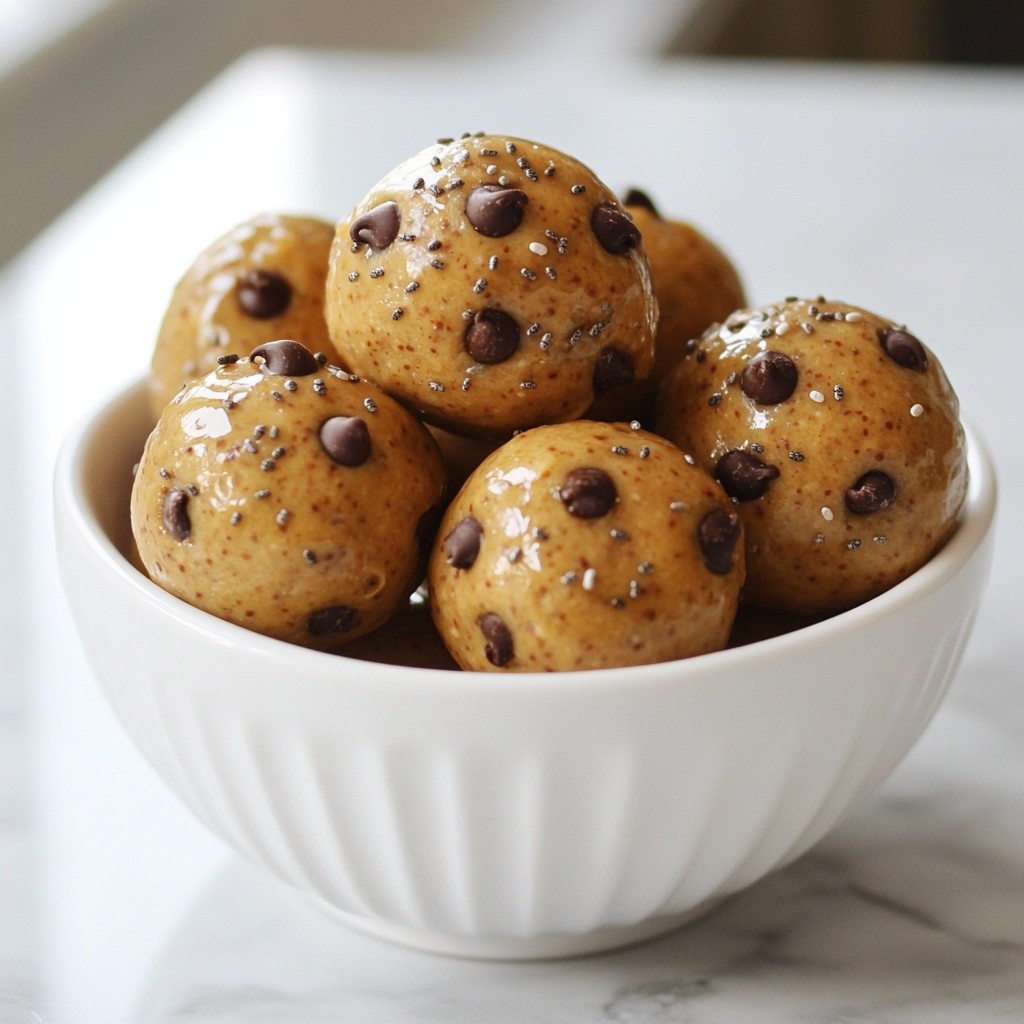
- Try Different Mix-Ins: Customize your bars by adding ingredients like dried fruits, seeds, or coconut flakes for added texture and flavor.
- Chill for Optimal Texture: Make sure to refrigerate the bars for at least 2 hours to ensure they set properly and achieve the perfect chewy texture.
Variations
Adding Chocolate or Nuts
You can add more flavors to your no-bake peanut butter bars. If you love chocolate, mix in dark chocolate chips or even milk chocolate chips. This will make each bite richer and sweeter. You can also add chopped nuts like almonds, walnuts, or peanuts. They add crunch and a nutty taste. Just sprinkle them on top or mix them into the peanut butter mixture.
Alternate Sweeteners
Honey and maple syrup are great, but you can try other sweeteners too. Agave nectar works well and has a mild flavor. You can also use brown rice syrup for a different taste. If you want to lower sugar, try using stevia or monk fruit sweetener. Just adjust the amount to keep the bars sweet and tasty.
Flavor Enhancements (e.g., spices)
To make your bars more exciting, add spices. A pinch of cinnamon can give warmth. You could also try a little nutmeg for a cozy touch. If you want a kick, add a touch of cayenne pepper. Be careful with this one—it can be spicy! These small changes can turn your bars into a whole new treat.
Storage Info
Best Practices for Refrigeration
To keep your no-bake peanut butter bars fresh, store them in the fridge. Use an airtight container. This helps prevent them from drying out. If you have leftovers, make sure to cover them well. I recommend placing a piece of parchment paper between the bars. This prevents sticking and makes it easier to grab one when you want a snack.
Freezing Options
You can also freeze these bars for later. Cut them into squares or rectangles before freezing. Wrap each piece in plastic wrap. Then, place them in a freezer-safe bag. This way, you can enjoy a quick treat anytime. To eat, just thaw them in the fridge for a few hours.
Shelf Life of No-Bake Peanut Butter Bars
These bars last about a week in the fridge. If you freeze them, they can last up to three months. Just remember to keep them sealed tight. This ensures they stay tasty and fresh. Enjoy your treats without worry!
FAQ
Can I use natural peanut butter?
Yes, you can use natural peanut butter. It adds a nice, rich flavor. Just make sure to stir it well. Natural peanut butter can be a bit thinner, so your bars may be softer. If so, chill them longer to help them set.
How long do these bars last?
These bars last about one week in the fridge. Store them in an airtight container to keep them fresh. If you want to keep them longer, you can freeze them. They freeze well for up to three months.
Can I omit the protein powder?
Yes, you can omit the protein powder. The bars will still taste great without it. If you skip it, the bars may be a bit softer. You can add a little more oats to help with texture.
What can I use instead of honey?
Maple syrup works well as a substitute for honey. It gives a sweet taste and is vegan. You could also use agave syrup or brown rice syrup. Each option will change the flavor a bit, but all will work nicely.
You learned about the key ingredients for tasty no-bake peanut butter bars. We discussed essential and optional items, and how to swap ingredients if needed. I shared easy steps for making the bars and tips to store them right. We explored fun variations to keep things fresh.
In your kitchen, these bars can be simple, healthy, and fun. Get creative and enjoy!