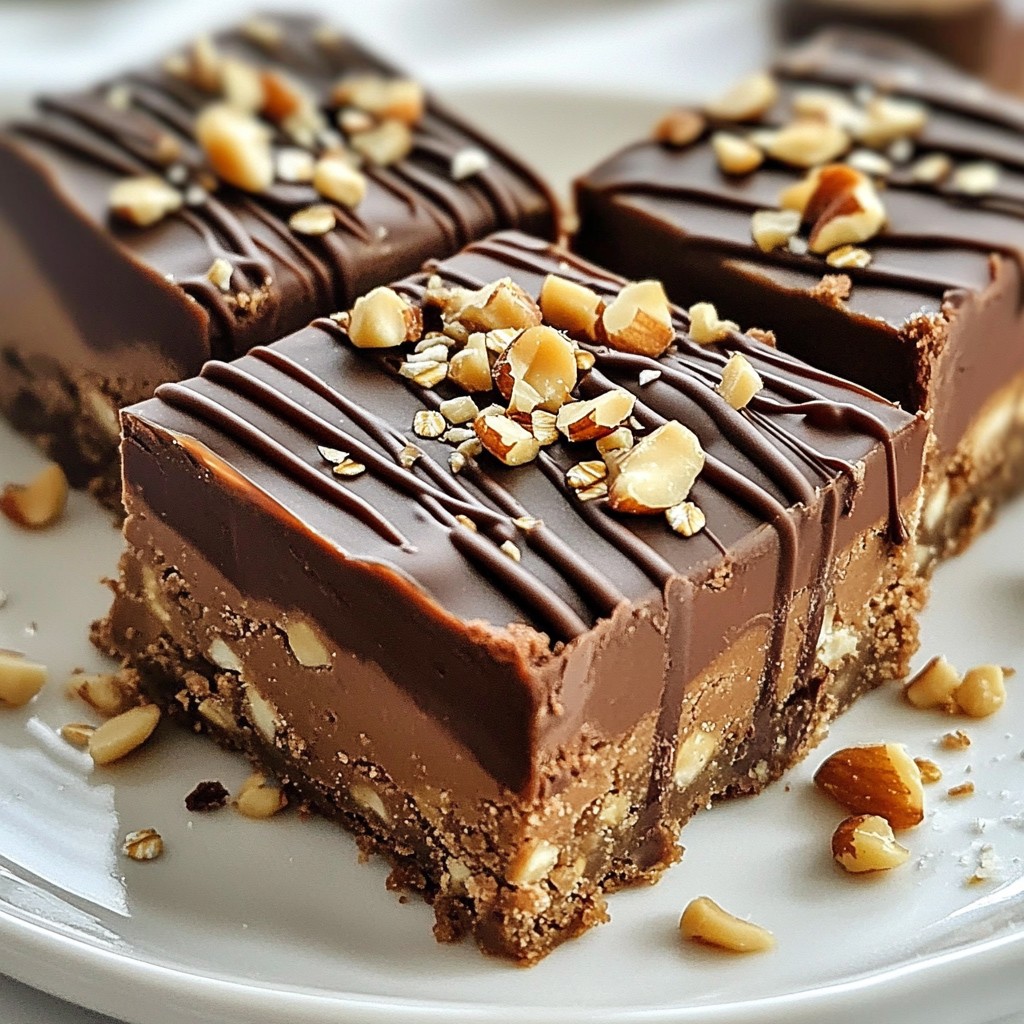
Are you ready to whip up a quick and tasty treat that's sure to satisfy your sweet tooth? These no-bake peanut butter bars are not only simple to make, but they're also packed with flavor and nutrients. In just a few easy steps, you can have a delicious snack that’s perfect for any time of day. Let me guide you through the process, and you'll be enjoying these delightful bars in no time!
Why I Love This Recipe
- Healthy Ingredients: This recipe is packed with nutritious elements like oats and almond flour, making it a wholesome treat.
- No Baking Required: Perfect for those who want a quick and easy dessert without the hassle of turning on the oven.
- Customizable: You can easily modify this recipe by adding different mix-ins like nuts, dried fruits, or seeds to suit your taste.
- Deliciously Satisfying: These bars provide a perfect balance of sweet and savory flavors, making them a satisfying snack any time of day.
Ingredients
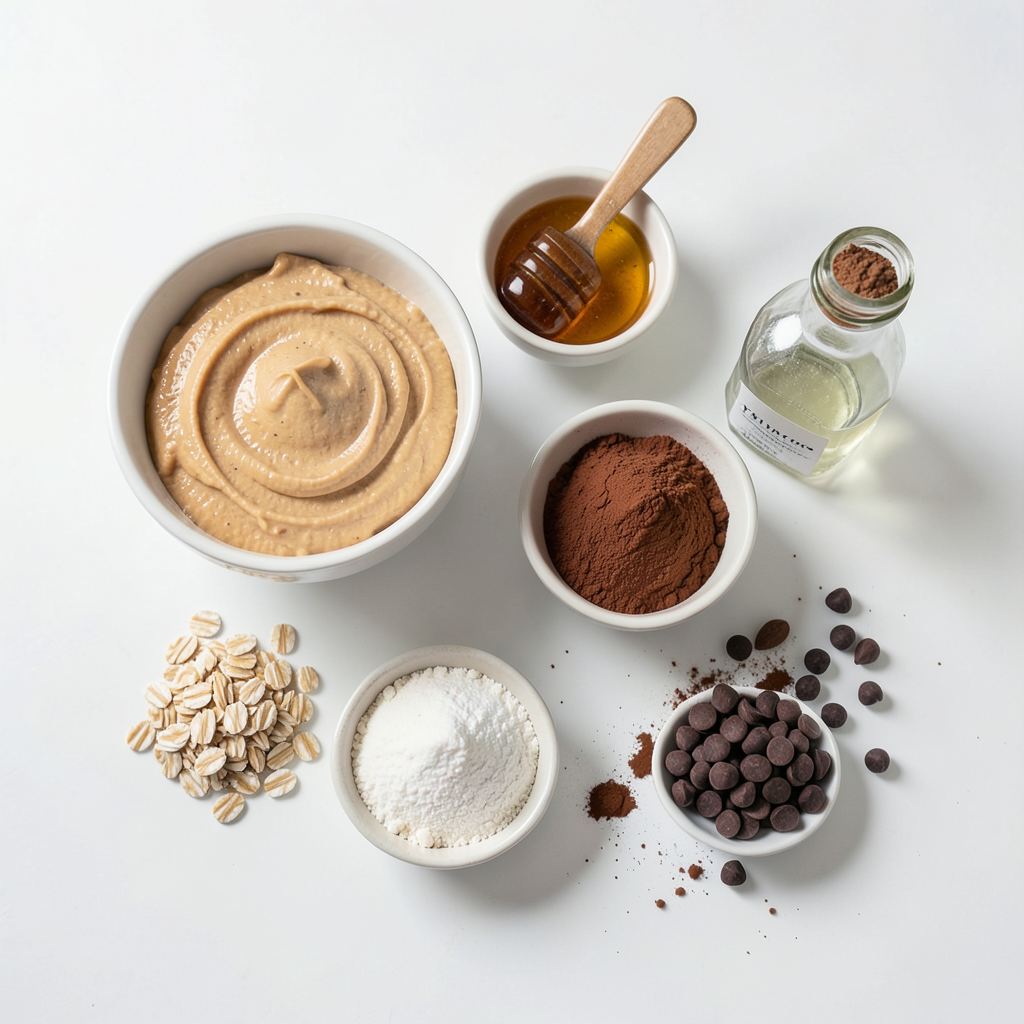
To make these no-bake peanut butter bars, you will need the following ingredients:
- 1 cup creamy peanut butter
- 1 cup rolled oats
- 1/2 cup honey or maple syrup
- 1/4 cup unsweetened cocoa powder
- 1/4 cup almond flour
- 1/2 teaspoon pure vanilla extract
- 1/4 teaspoon fine sea salt
- Optional: 1/3 cup chocolate chips
Each ingredient plays a key role in the flavor and texture. The creamy peanut butter gives the bars their rich taste. Rolled oats add fiber and help bind the mixture. Honey or maple syrup adds sweetness and moisture. Cocoa powder brings a chocolate flavor, while almond flour adds a nice nutty touch. Vanilla extract enhances the overall taste, and sea salt balances the sweetness. If you choose to include chocolate chips, they add an extra layer of flavor and fun!
With these ingredients, you can create a tasty treat that is quick and easy.
Step-by-Step Instructions
Preparation Steps
- Combine peanut butter and sweetener: In a large bowl, mix 1 cup of creamy peanut butter with 1/2 cup of honey or maple syrup. Stir until it’s smooth. No lumps should be left in this mix.
- Sift in cocoa powder and almond flour: Next, sift in 1/4 cup of cocoa powder and 1/4 cup of almond flour. Add 1/4 teaspoon of fine sea salt. Mix well until everything is combined.
- Add rolled oats and chocolate chips: Gradually add 1 cup of rolled oats. If you like, fold in 1/3 cup of chocolate chips. This makes the bars even more yummy!
Assembly and Setting
- Prepare the baking dish: Line an 8x8 inch baking dish with parchment paper. Leave some paper over the sides. This will help you lift the bars out later.
- Press the mixture into the dish: Spoon the peanut butter mix into the lined dish. Use a spatula or your hands to press it down firmly. Compact it well for a solid base.
- Refrigerate to set: Place the dish in the fridge. Let it chill for 1-2 hours. This helps the bars set. Once firm, you can lift them out and cut them into squares.
Tips & Tricks
Measuring Ingredients
How do you measure sticky ingredients accurately? Use a liquid measuring cup for peanut butter or honey. Spray the cup lightly with cooking oil first. This makes it easier to pour out the sticky stuff. For best results, measure the honey or syrup first, then the peanut butter.
What are the recommended measuring tools? A set of dry measuring cups works well for oats and almond flour. A kitchen scale is great for precise measurements, too. Using the right tools helps you get the perfect texture for your bars.
Achieving the Right Texture
What tips can help you achieve a firmer set? Compact the mixture tightly in the baking dish. Use a spatula or your hands to press it down firmly. Refrigerate for at least two hours. This chill time helps the bars hold their shape.
What common mistakes should you avoid? Don’t skip the chilling step; it’s vital. Avoid adding too many extra ingredients, which can mess with texture. Finally, make sure to mix well. Lumps can lead to uneven bars.
Pro Tips
- Use Natural Sweeteners: If you prefer a healthier alternative, consider using coconut nectar or agave syrup instead of honey or maple syrup for a lower glycemic index.
- Enhance the Flavor: Add a pinch of cinnamon or a dash of espresso powder to the mixture to elevate the flavor profile of your bars.
- Perfect Storage: To keep your bars fresh longer, wrap them individually in parchment paper before storing them in an airtight container.
- Experiment with Add-ins: Feel free to add dried fruits, seeds, or nuts to the mixture for added texture and flavor variations.
Variations
Flavor Additions
You can change the flavor of your bars easily. Try using different nut butters. Almond butter or cashew butter works great. Each nut butter brings its own unique taste. You might also want to add spices or extracts. A sprinkle of cinnamon gives warmth. A dash of nutmeg adds a spicy kick. Vanilla extract enhances the sweet flavor, too. Get creative and find your favorite mix!
Dietary Adjustments
If you have dietary needs, you can adjust the recipe. To make it vegan, swap honey for maple syrup. This keeps it sweet and plant-based. For a gluten-free option, choose certified gluten-free oats. You can also cut back on sugar. Use less honey or maple syrup. You can replace it with a sugar substitute if you like. These simple swaps help everyone enjoy this treat!
Storage Info
Best Storage Practices
To keep your no-bake peanut butter bars fresh, store them in an airtight container. This helps keep moisture out and preserves the bars' texture. I recommend using a glass or plastic container with a tight-sealing lid. Place parchment paper between layers if you stack them. This prevents sticking. Store the container in the refrigerator. Your bars will stay fresh for up to a week.
Freezing Instructions
You can freeze these peanut butter bars for longer storage. First, cut the bars into pieces. Wrap each piece in plastic wrap. Then, place them in a freezer-safe bag or container. This keeps them safe from freezer burn. They can last for up to three months in the freezer. When you're ready to enjoy a bar, take it out and let it thaw in the fridge. This keeps the taste and texture just right.
FAQs
How long do no-bake peanut butter bars last?
No-bake peanut butter bars last up to one week in the fridge. Keep them in an airtight container to stay fresh. After a week, they may lose texture or taste.
Can I use crunchy peanut butter instead?
Yes, you can use crunchy peanut butter. It adds a nice texture. The bars will have a bit more crunch, which many people enjoy. Just make sure it is well mixed.
Is it possible to make these bars nut-free?
Yes, you can make these bars nut-free. Use sun butter or soy nut butter instead of peanut butter. These alternatives work well and taste great too.
What can I substitute for honey?
You can substitute honey with maple syrup. Agave nectar is another option. Both will keep the bars sweet and tasty. Just use the same amount as honey.
Making no-bake peanut butter bars is simple and fun. We covered the key ingredients, easy steps, and how to customize these bars. Don't forget about storage tips to keep them fresh. Enjoy trying different flavors or dietary options. These bars are a delicious treat everyone can make. I encourage you to gather your ingredients and get started today!