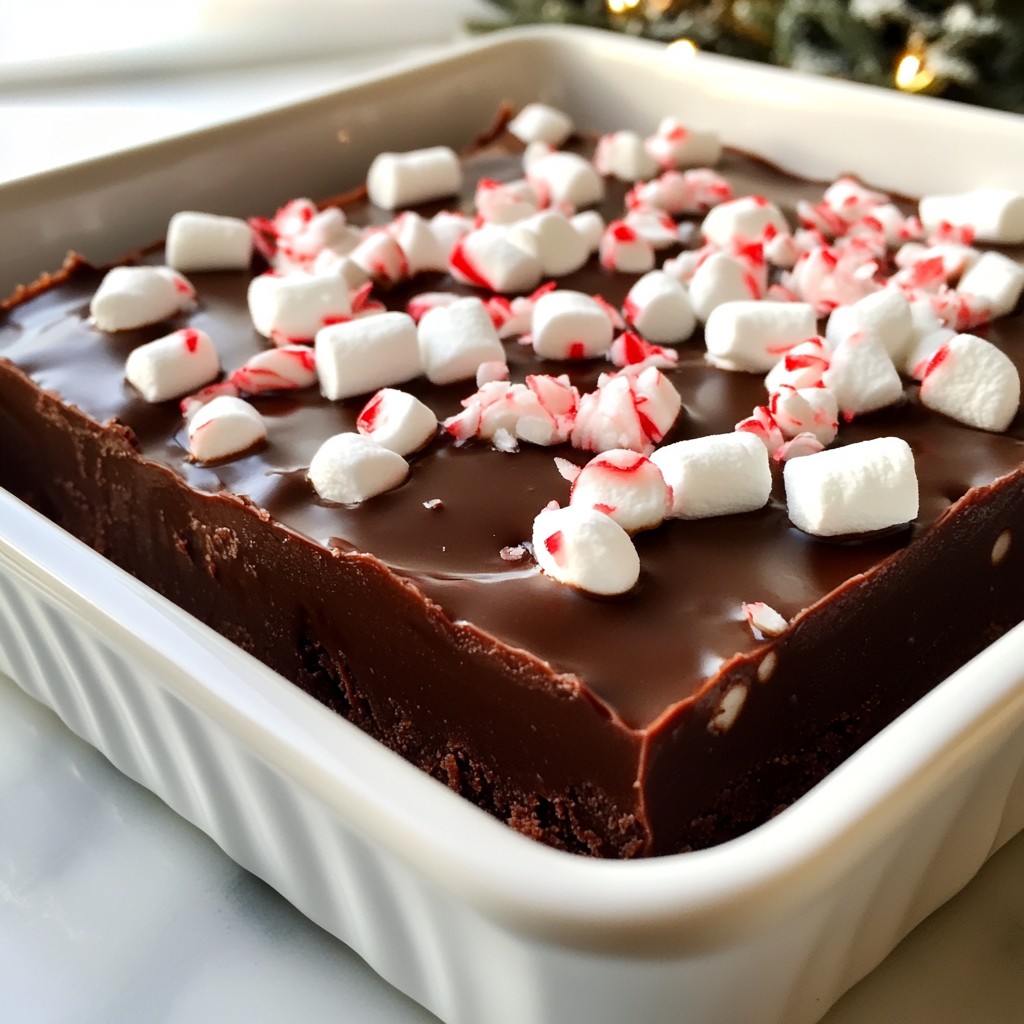
If you're looking for a simple yet delightful holiday treat, you've found it! This Peppermint Hot Chocolate Fudge is rich, creamy, and bursting with festive flavor. It's a fun way to bring warmth to chilly days and impress your friends and family. With easy ingredients and quick steps, you'll whip up this sweet indulgence in no time. Let's dive into how to make this delicious fudge together!
Why I Love This Recipe
- Decadent Flavor: This fudge combines the rich taste of chocolate with refreshing peppermint, creating a delightful dessert that’s perfect for the holidays.
- Easy to Make: With just a few simple ingredients and minimal cooking time, this recipe is perfect for beginners and busy bakers alike.
- Customizable: Add your favorite toppings or change the type of chocolate to suit your taste—this recipe is flexible to your preferences!
- Gift-Worthy Treat: Packaged nicely, this fudge makes a wonderful homemade gift for friends and family during the festive season.
Ingredients
Chocolate Base Components
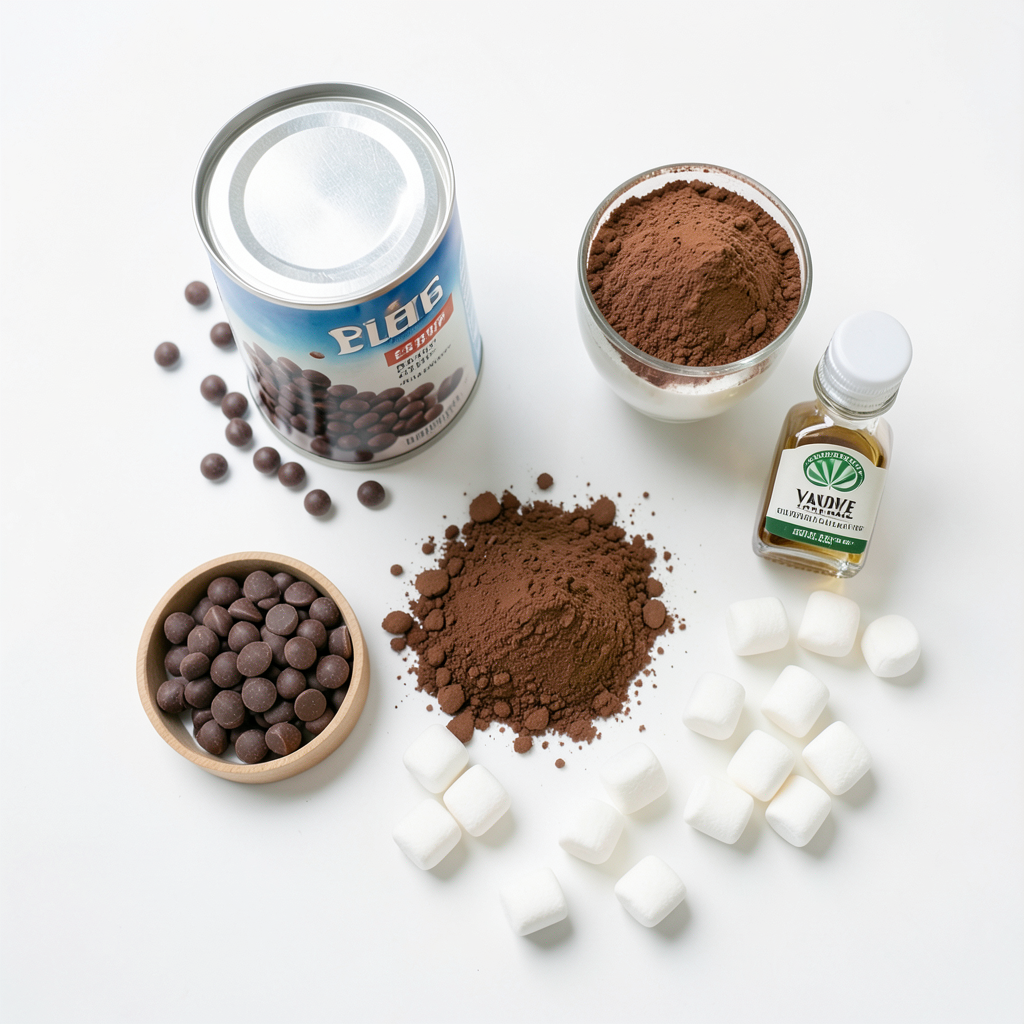
- 2 cups semi-sweet chocolate chips
- 1 can (14 oz) sweetened condensed milk
- 1/4 cup unsweetened cocoa powder
The chocolate base is the heart of this fudge. Semi-sweet chocolate chips give a rich, smooth taste. Sweetened condensed milk adds creaminess and sweetness, making the fudge melt-in-your-mouth good. Unsweetened cocoa powder boosts the chocolate flavor, making it deep and intense.
Flavor Enhancements
- 1/2 teaspoon pure vanilla extract
- 1 teaspoon peppermint extract
- 1/4 teaspoon salt
Vanilla extract brings warmth and depth. The peppermint extract adds that festive zing, perfect for the holiday mood. A pinch of salt balances the sweetness, enhancing all the flavors in the fudge.
Optional Garnishes
- 1/2 cup crushed peppermint candies (set aside extra for topping)
- Mini marshmallows
Crushed peppermint candies not only look pretty but also add a fun crunch. They give a burst of minty flavor in every bite. Mini marshmallows are an optional treat. They add a soft, fluffy texture that pairs well with the firm fudge. You can use them for a festive touch on top!
Step-by-Step Instructions
Preparation of the Baking Dish
Start by lining an 8x8 inch baking dish with parchment paper. Leave some paper hanging over the sides. This will help you lift the fudge out later. A clean dish makes the fudge easy to cut.
Melting the Chocolate Mixture
In a medium saucepan, add 2 cups of semi-sweet chocolate chips and 1 can of sweetened condensed milk. Heat this mixture over medium-low heat. Stir it often until the chocolate melts and mixes well. You want it smooth and creamy.
Combining Ingredients
Once the chocolate mixture is smooth, take it off the heat. Gradually whisk in 1/4 cup of unsweetened cocoa powder, 1/2 teaspoon of pure vanilla extract, 1 teaspoon of peppermint extract, and 1/4 teaspoon of salt. Mix until everything is well combined. This adds depth to the flavor.
Incorporating Peppermint Candies
Next, gently fold in 1/2 cup of crushed peppermint candies. Set aside a small amount for topping. Folding carefully ensures the candies stay whole. This gives a nice crunch in each bite.
Setting the Fudge
Pour the fudge mixture into the prepared baking dish. Use a spatula to spread it evenly. Once flat, sprinkle the reserved crushed peppermint candies on top. Place the dish in the refrigerator and chill for at least 2 hours. This helps the fudge set firmly.
Serving Suggestions
When the fudge is firm, lift it out using the parchment paper. Cut it into squares for easy serving. Arrange the fudge squares on a festive platter. You can add mini marshmallows on top for a fun touch. Enjoy your treat!
Tips & Tricks
Achieving the Perfect Texture
To get that silky-smooth mixture, stir the chocolate and milk slowly. Heat it on low. This helps the chocolate melt evenly. If you rush, the fudge can become grainy.
Chill the fudge for at least two hours. This helps it set properly. If you check it too soon, it might still be soft. Patience is key to a good texture!
Best Practices for Melting Chocolate
When melting chocolate, use low heat. High heat can burn the chocolate. Stir it often to avoid clumps. If you notice any lumps, keep stirring until it’s smooth.
Using a heavy saucepan also helps. It spreads the heat evenly. This way, the chocolate melts without burning.
Presentation Techniques
For a great look, cut the fudge into even squares. Use a sharp knife for clean cuts. Arrange the squares on a festive platter.
Garnish with extra crushed peppermint and mini marshmallows. This adds color and fun. You can also sprinkle a bit of cocoa powder on top. This gives a nice touch to your holiday treat!
Pro Tips
- Use High-Quality Chocolate: Opt for premium semi-sweet chocolate chips for a richer, more decadent fudge flavor.
- Chill Before Cutting: For cleaner cuts, chill the fudge for an additional 30 minutes after it has set before slicing it into squares.
- Experiment with Flavors: Feel free to mix in other extracts like almond or orange for a unique twist on the classic peppermint flavor.
- Store Properly: Keep the fudge in an airtight container at room temperature for up to a week or in the fridge for longer freshness.
Variations
Different Chocolate Types
You can switch up the chocolate in your fudge. If you love rich flavors, use dark chocolate. Dark chocolate adds depth and a bit of bitterness that balances well with sweetness. White chocolate is another option. It gives a creamy and sweet taste. Both choices create a fun twist on the classic recipe.
Flavor Add-ins
Want to make your fudge stand out? Try adding new flavors. Almond extract can give a nutty touch. Orange extract adds a bright, zesty flavor that pairs nicely with chocolate. Just a drop or two can make a big difference. Feel free to experiment with your favorite flavors!
Topping Ideas
Toppings can change the look and taste of your fudge. Instead of crushed peppermint, try using chopped nuts. Walnuts or pecans can add crunch. You can also use sprinkles for a festive touch. Drizzling melted chocolate on top adds a rich finish. Be creative!
Storage Info
Proper Storage Methods
To keep your peppermint hot chocolate fudge fresh, use an airtight container. This method locks in moisture and flavor. You can also cover the fudge with aluminum foil. However, foil isn’t as effective as a sealed container. If you choose foil, make sure it covers all sides to prevent air exposure. Both methods work, but I prefer airtight containers for the best results.
Shelf Life Considerations
When stored properly, the fudge stays fresh for about two weeks. You might notice it getting a bit soft over time. If you keep it in the fridge, it can last even longer, up to three weeks. Always check for any off smells or changes in texture before enjoying. If it looks or smells strange, it’s best to toss it out.
Freezing Instructions
If you want to save some fudge for later, freezing is a great option. Cut the fudge into squares before freezing. Wrap each piece in plastic wrap, then place them in a freezer-safe bag. This keeps them fresh and prevents freezer burn. When you’re ready to eat, take out the fudge and let it thaw in the fridge overnight. This way, it will taste just as good as fresh!
FAQs
Can I make this fudge without condensed milk?
Yes, you can make fudge without sweetened condensed milk. Some good alternatives include coconut cream or evaporated milk. You can also use a mix of milk and sugar. Use about one cup of milk with a half cup of sugar. This will help you get a similar creamy texture.
How do I know when the fudge is set?
You will know your fudge is set when it feels firm to the touch. It should not be soft or sticky. If you press lightly with your finger, it should hold its shape. After two hours in the fridge, check for these signs. If it’s still soft, leave it in for another 30 minutes.
Can I use other candies for topping?
Absolutely! You can use many different candies on top. Try using crushed Oreos, chocolate chips, or even sprinkles. You can mix in nuts or mini marshmallows too. Get creative and make it your own!
In this blog post, we explored how to make a delightful fudge using a simple chocolate base. You learned about key ingredients, step-by-step instructions, and helpful tips for perfect results. Remember, variations can elevate your fudge, making it unique. Pay attention to storage methods to keep it fresh. With these insights, you’re now ready to create your own delicious fudge. Enjoy the process and have fun sharing it with others!